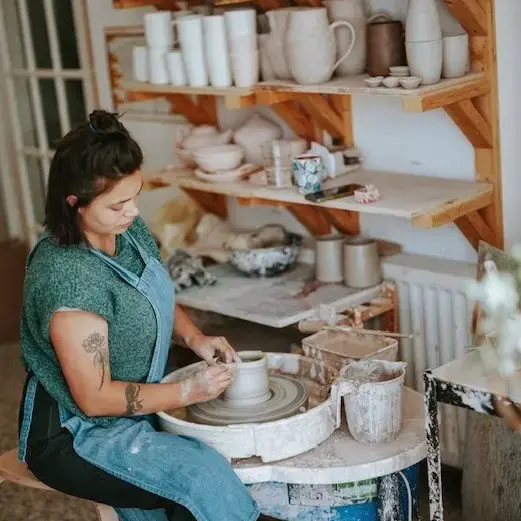
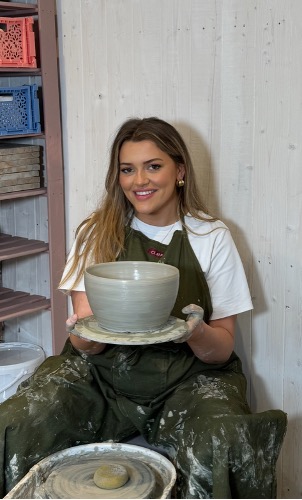
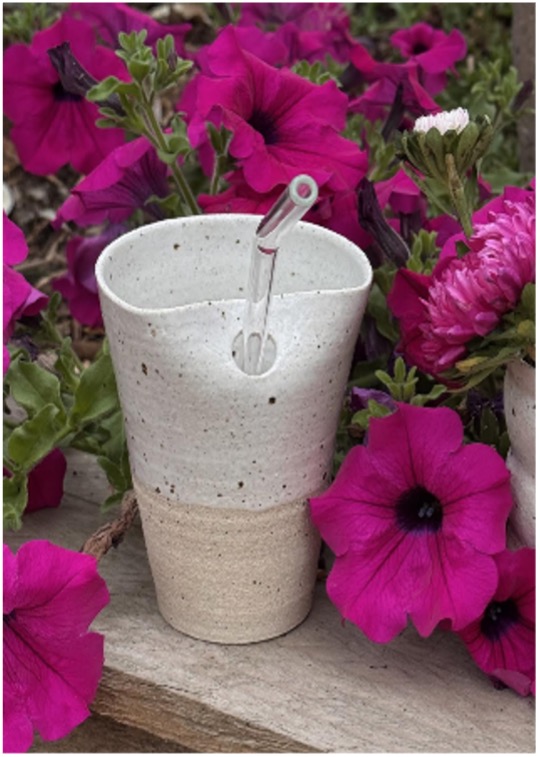
I’m Beth – founder of Sunday Tablewear – I’m a 24-year-old who fell madly in love with pottery. My passion is to create items that are functional for the everyday, and romanticise the small moments (like making my morning iced coffee.) In this short article, I aim to explain how you can make your own ‘Iced-to-Go Cup’ to enjoy everyday
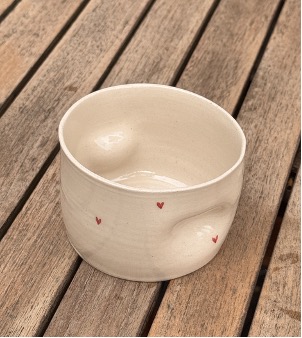
I’m a girl who likes a cup without a handle. My signature item is the ‘dimple mug’ which I find the comfortability to be unmatched compared to a handle. The beauty of this cup is the fact there are no joined elements, no slipping and scoring in sight over here.
Step-By-Step Project
- To make this essential cup that I believe everyone needs, you start by throwing some kind of cylinder. It doesn’t have to be straight or perfect at all – I think the more personality the better. I aim for a narrow bottom and a slightly wider top as this shape fits in the car cup holder this way!
- To get the wonky rim at the top, I take a sponge or finger to nudge the wet clay just after the item has been taken off the wheel. Any marks can be buffed out later with a sponge so there’s no point being a perfectionist here.
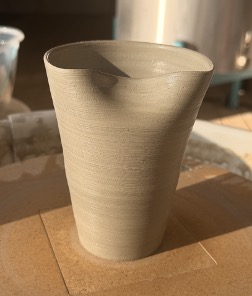
- Now, let the pot dry to the point it’s still slightly malleable but you aren’t leaving fingerprints when picking it up.
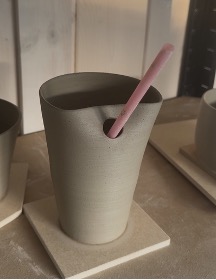
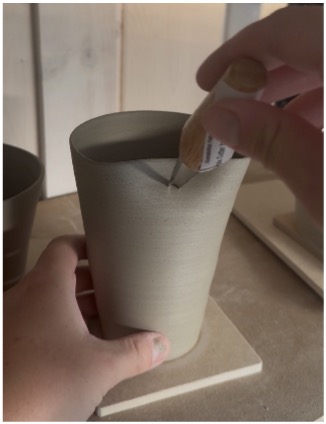
- To make the hole, I’d use an item like a straw to stab through initially while supporting the rim from the back, so it doesn’t fall through. This hole needs to be about 2 or 3 times bigger than the width of the straw to allow for shrinkage when drying, glazing and firing! To make the hole larger, I use a wooden tool and a sponge to carve the clay out very slowly and carefully.
- At this point you can smooth out the piece with a sponge. Trim it,and also add some dimples with a wet finger to give the cup a comfy feel when you hold it. After these steps are completed, I leave the pot on tile insert to dry. I throw my pots on a Batt System. Because of the material it’s made of, I don’t need to wire them off. the pot will ‘pop off’ once the clay is just under leather hard). This is great because I find that wiring can make my pot bases uneven and not quite flat. By leaving the pot on the tile to dry, I just give it a gentle pull when it’s just under leather hard stage, and it comes off without wiring. You can click here to see this process in action.
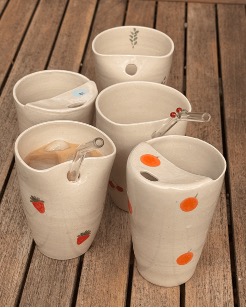
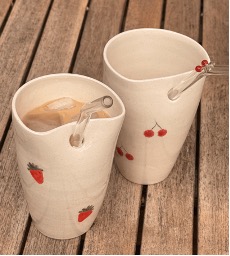
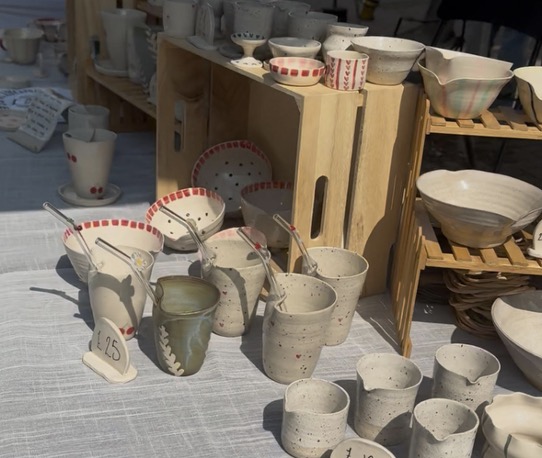
- Next… it’s time for firing and glazing! You can see some pics of how I like to decorate mine below.
An Extra Tip…
Most importantly – don’t be hard on yourself, clay sometimes has a mind of its own and won’t be tamed. Everything can be recycled in pottery, so you have infinite chances of getting it right and you’ll only get better!!
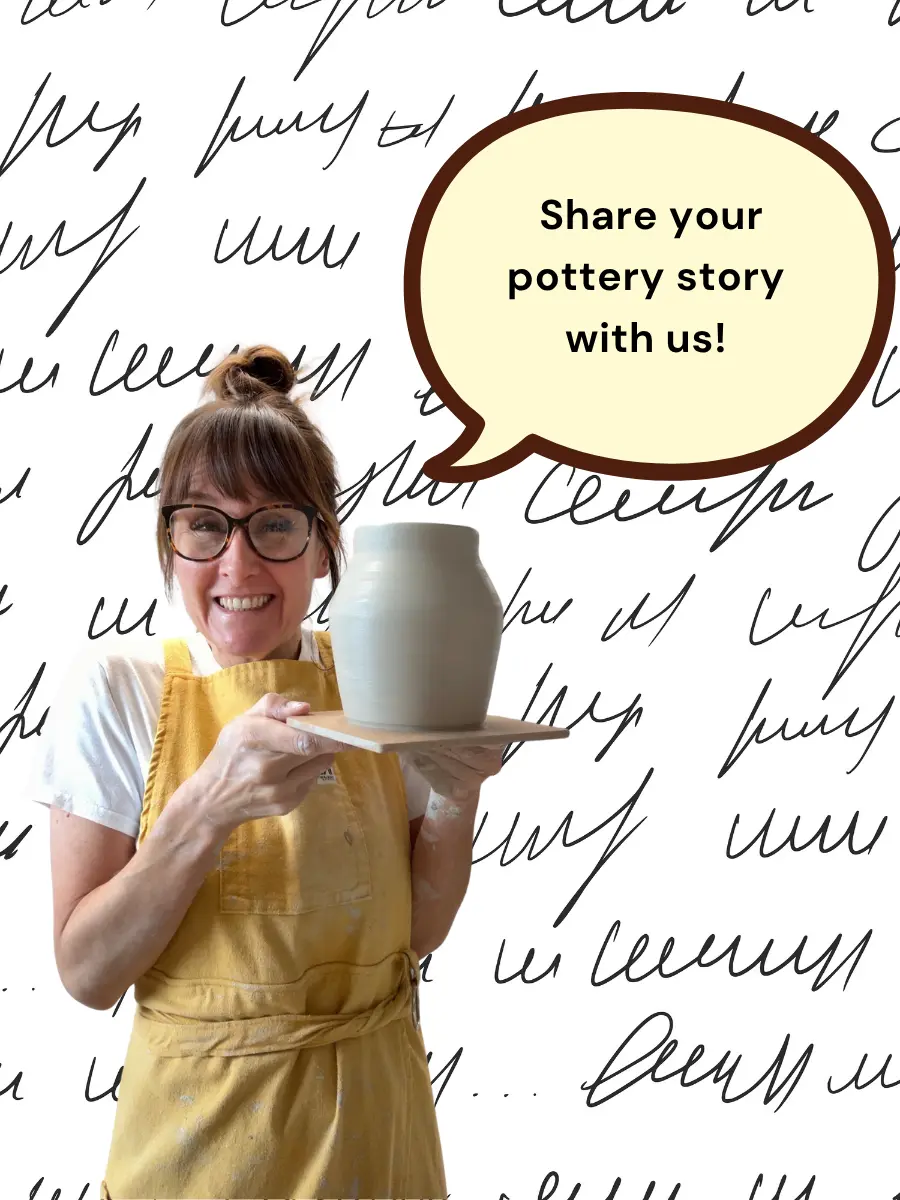
Get In Touch!
I’d love to hear if anyone has any new ideas for adding personality and finishing touches to a piece? My favourite part is adding dimples to a mug, as each indent will be slightly different. At markets I find my customers picking up multiples of the same mug until they find the one that fits perfectly!
I hope this blog post inspires you to make yourself or a friend a dedicated mug to make the everyday coffee that bit more special – you deserve it.
On a personal note…
Follow my Instagram @sundaytablewear to watch my pottery journey from my garden workshop in Buckinghamshire, where I share the highs and lows of the creative process to keep it real.

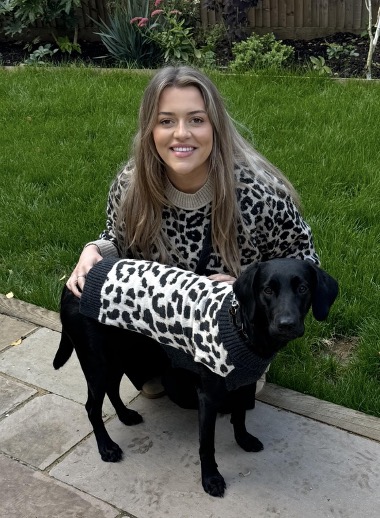
I spend my days with my labrador Lola, making items for markets or custom orders, or sometimes teaching. Right now, I’m focused on a new range of occasion ware – cake stands and vases which you’ll be able to shop from my instagram!
I’m always keen to chat, if you have any further questions please message me ♥️