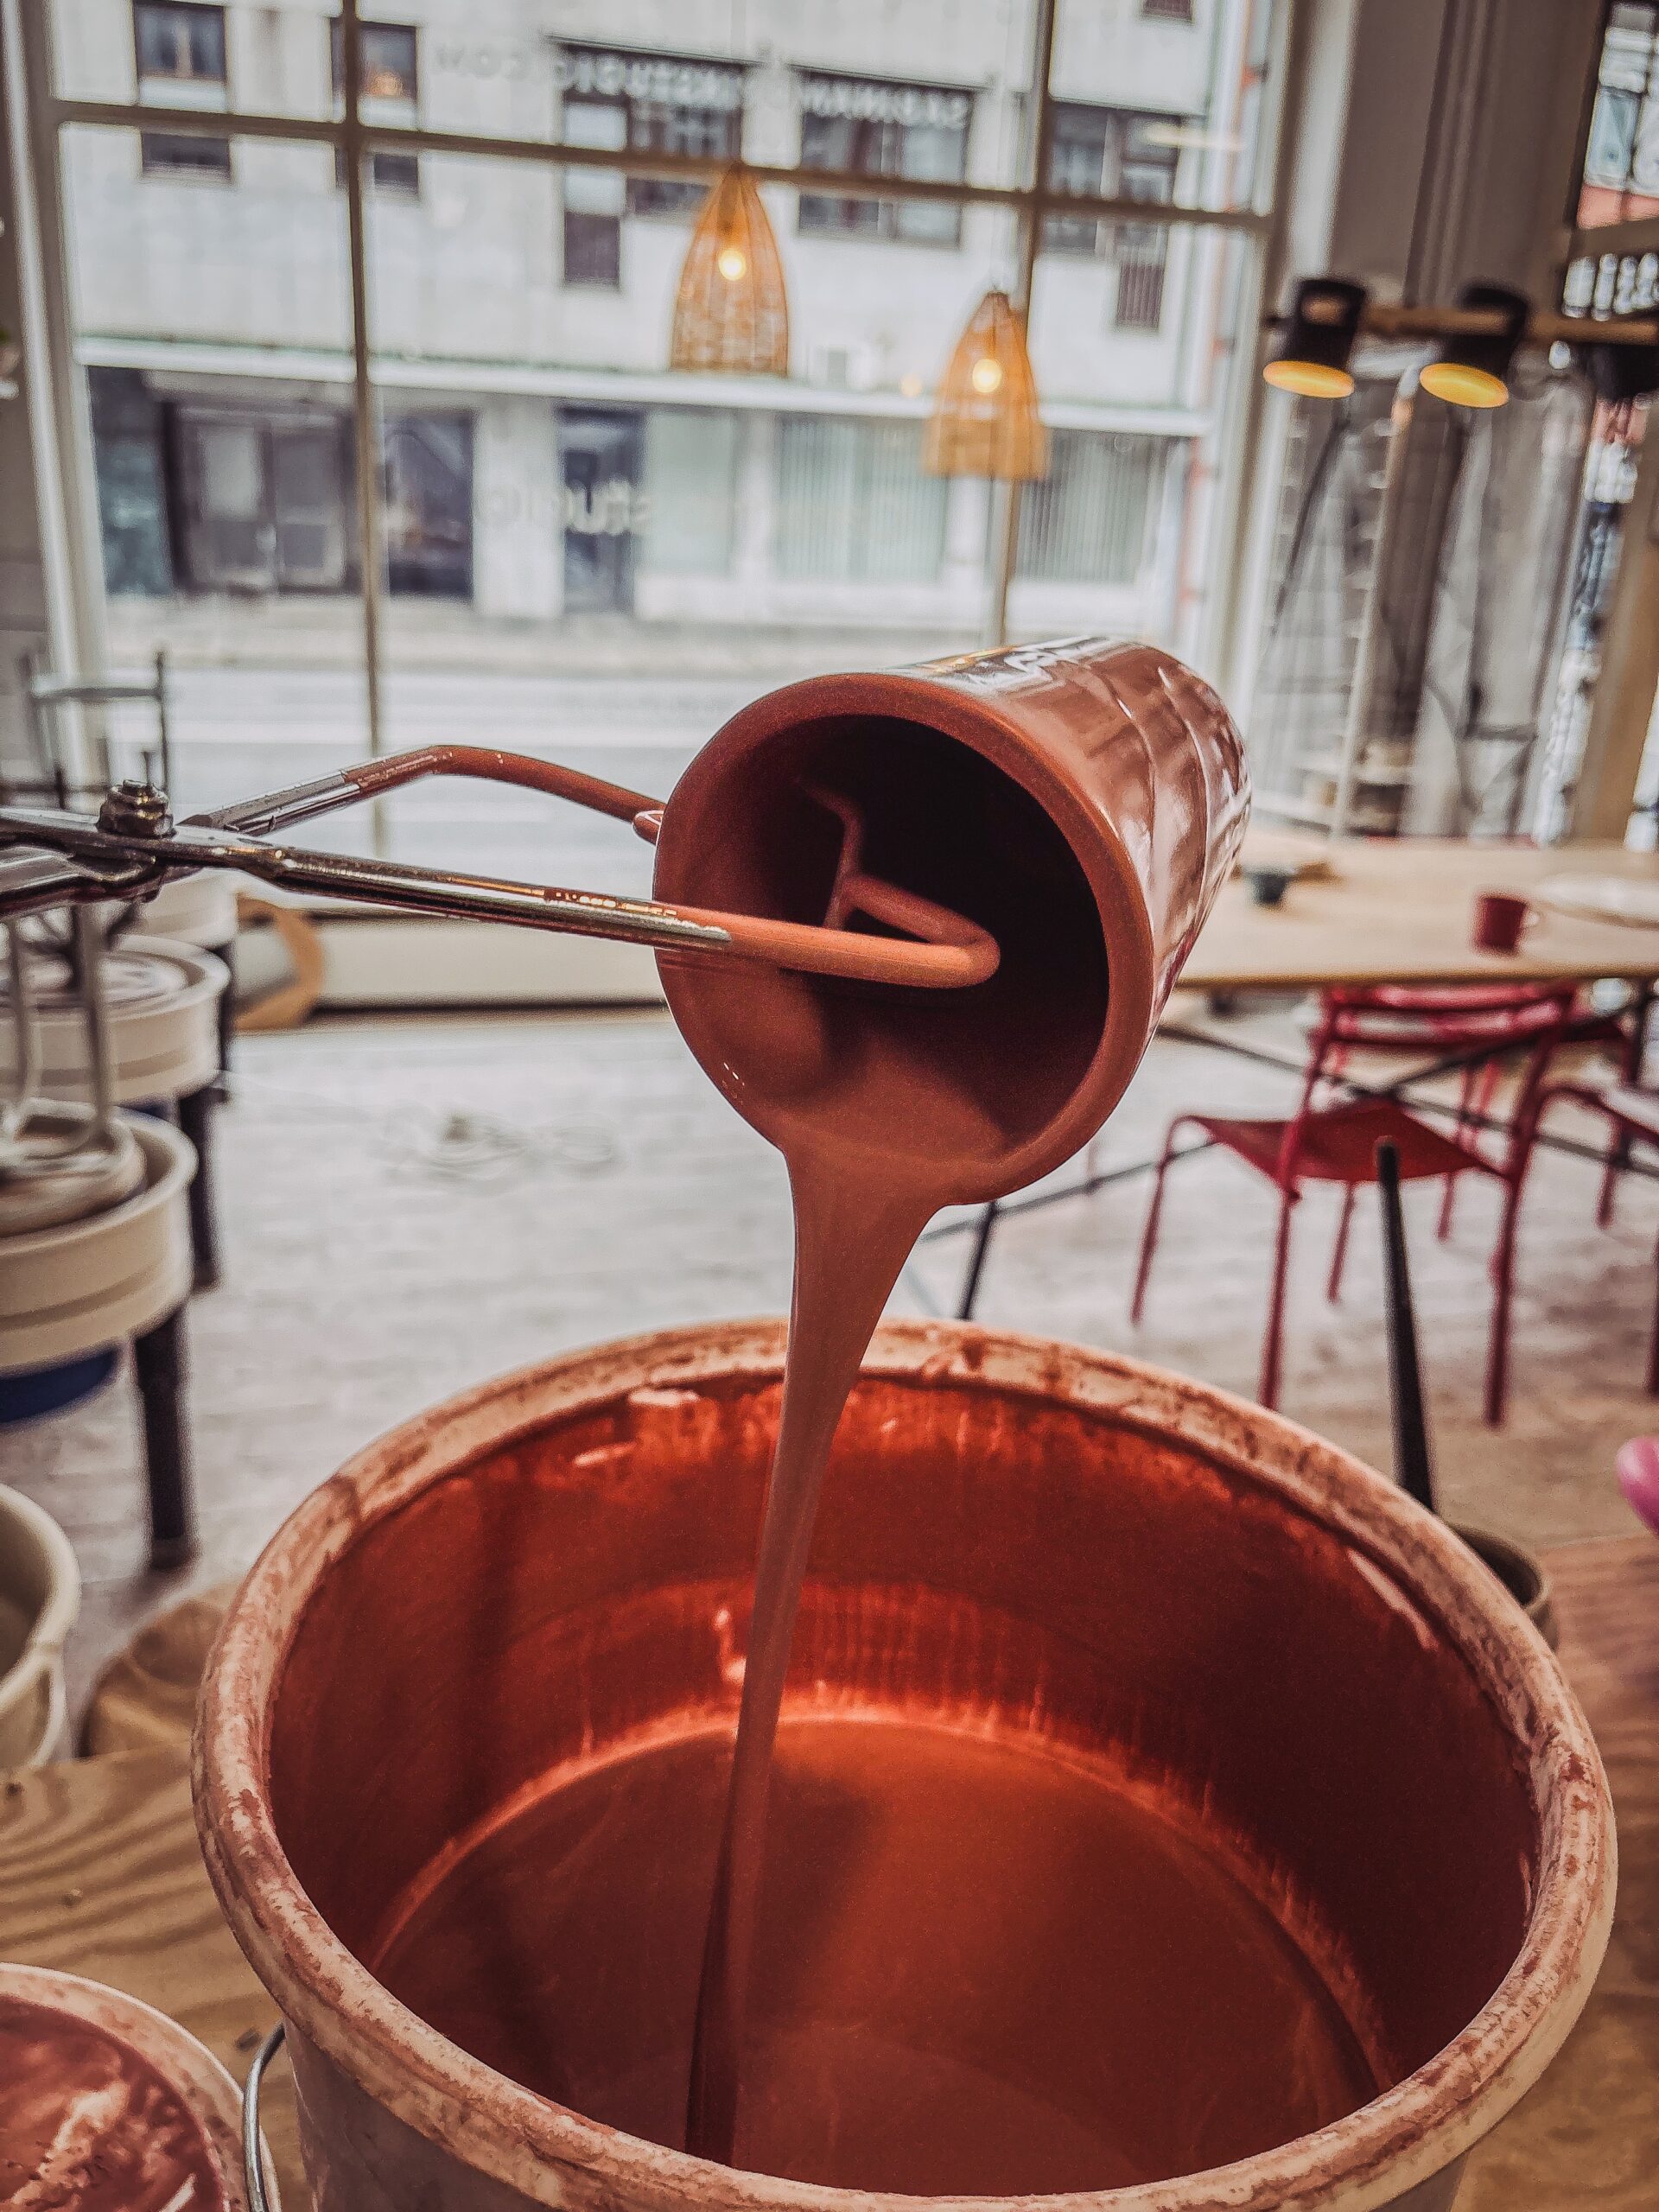
Being a full-time potter based in Sweden, I know exactly how confusing and frustrating glazing can feel when you’re just starting out. The buckets of mystery liquid that is basically all 50 shades of gray and the pressure of not wanting to ruin a piece you worked so hard on can make anybody feel intimidated.
In this blog I will share my best beginners tips so you can glaze with confidence and maybe even enjoy the process!
Do You Know These Words?
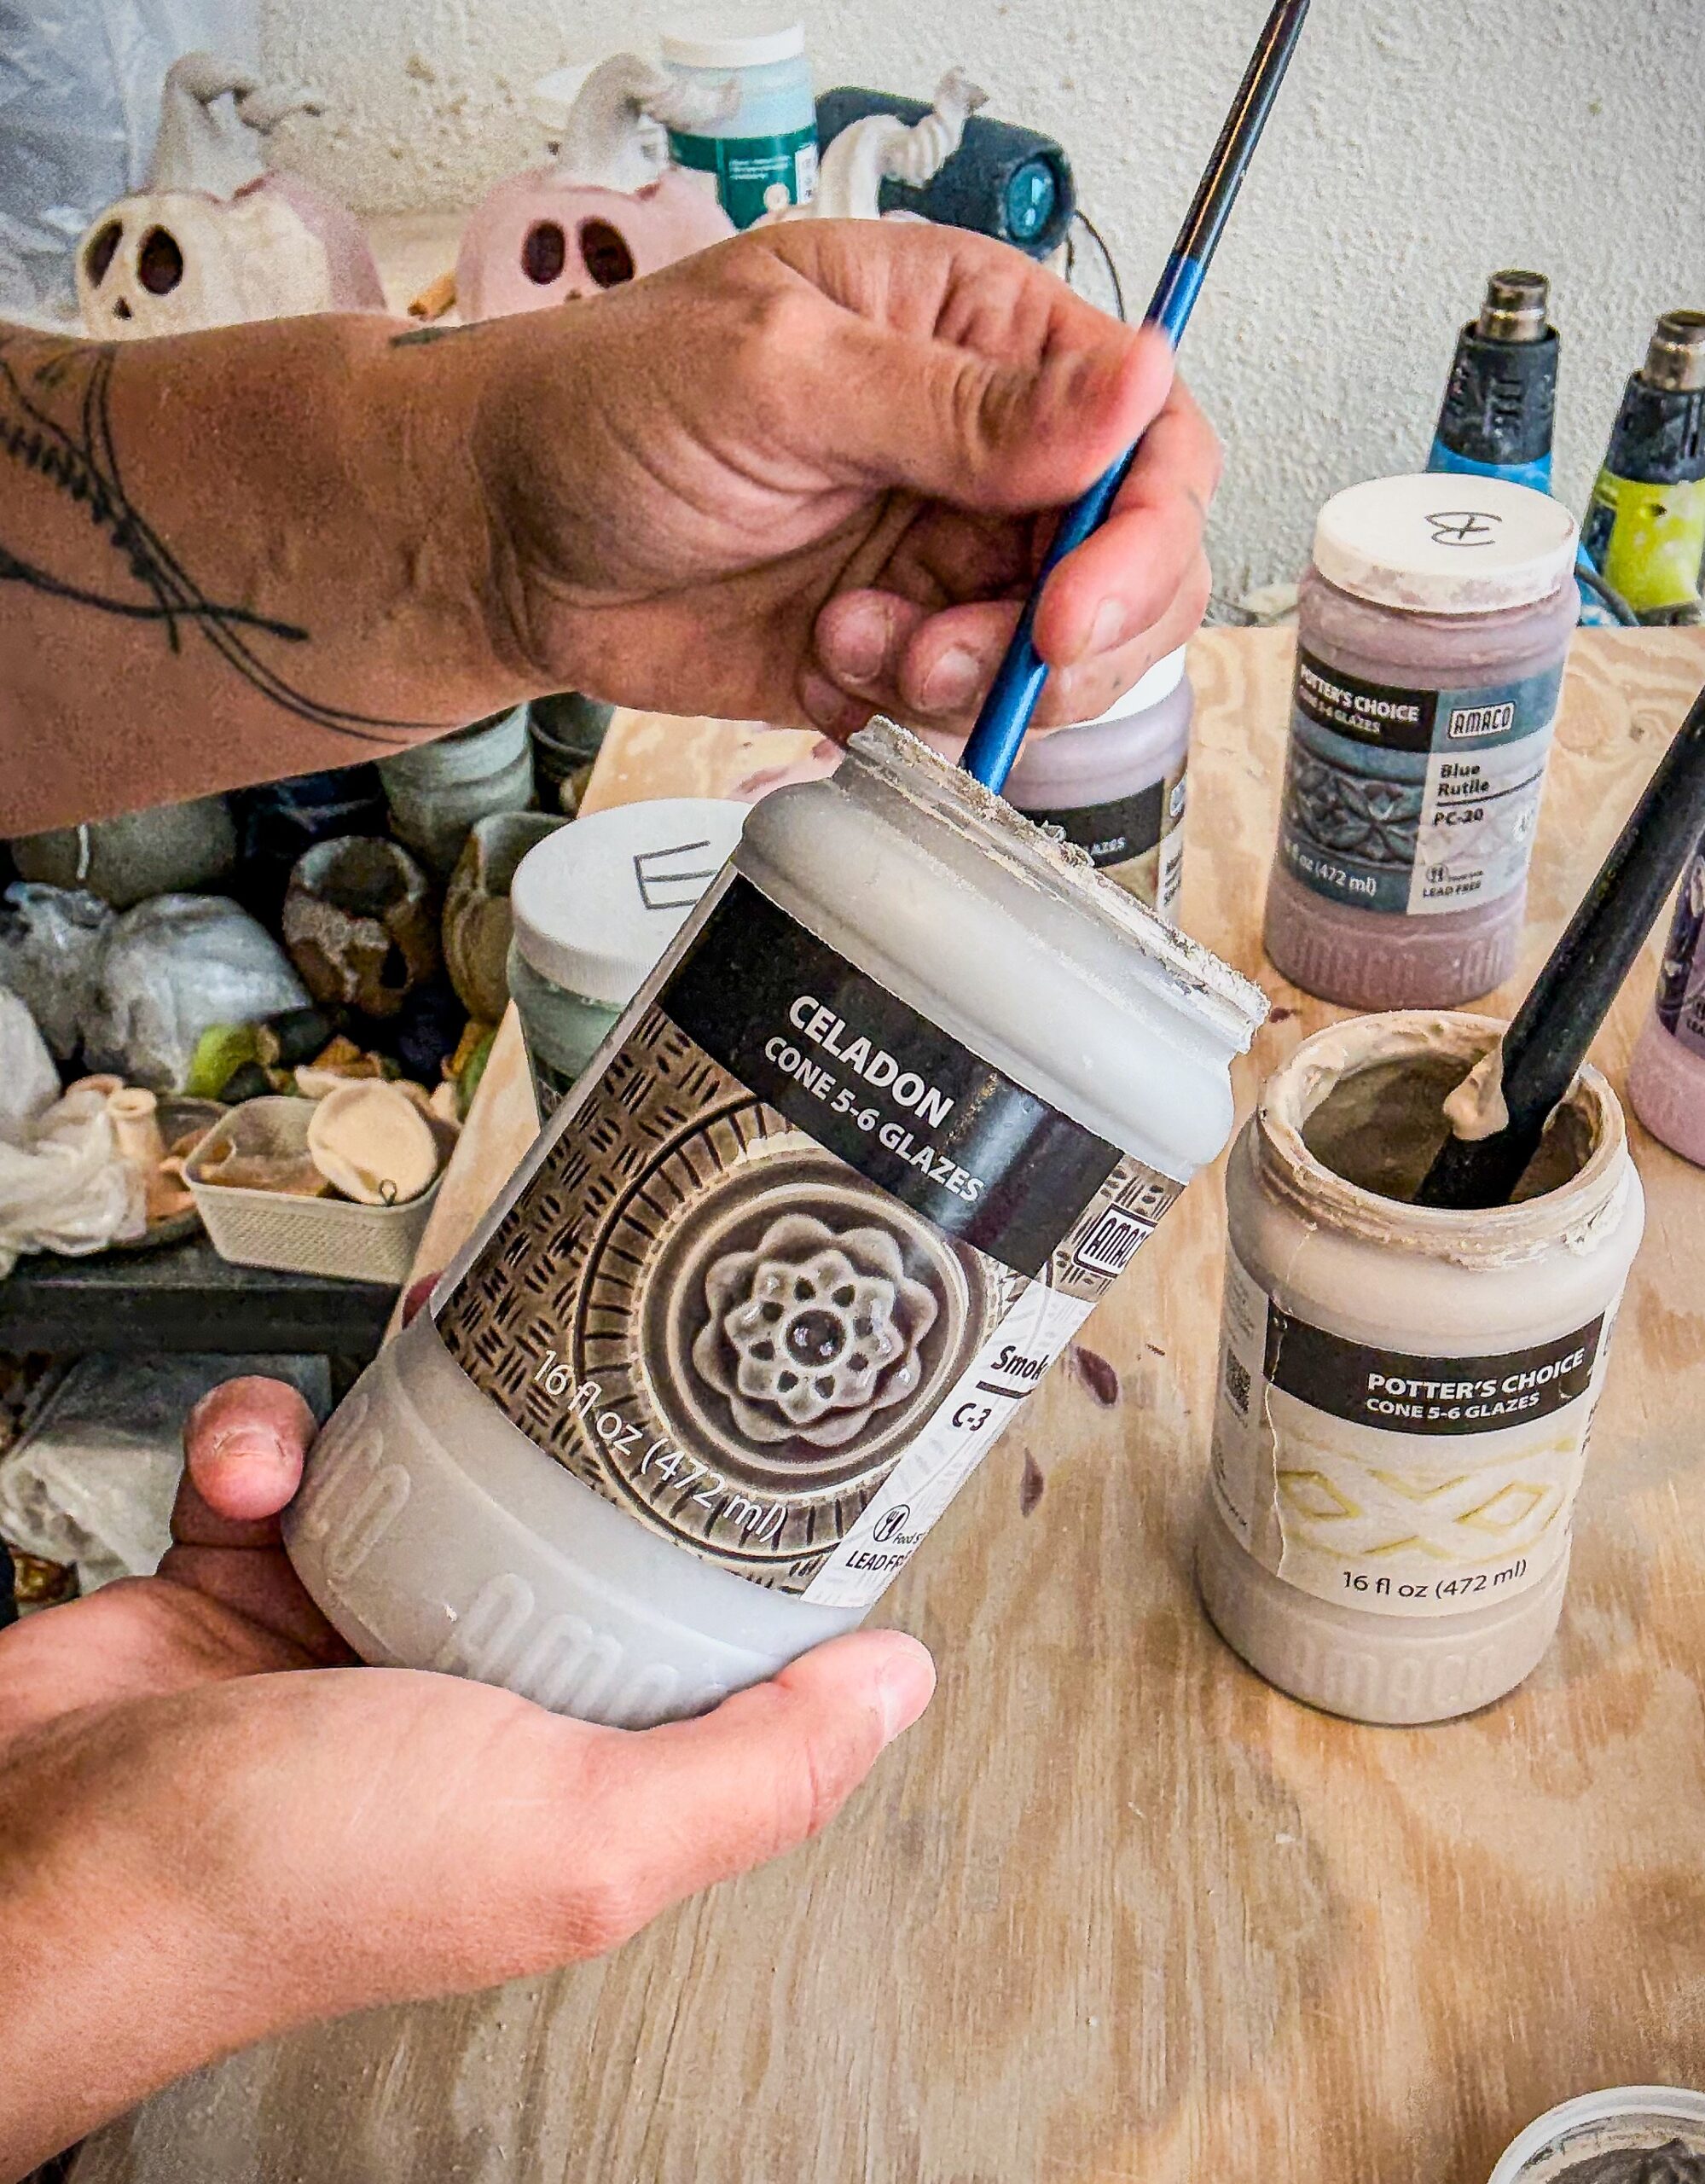
You have probably seen words on your bags or jars of glaze and didn’t think too much of it. You chose it simply because it is a pretty glaze. But here is the glaze vocabulary YOU MUST KNOW to avoid disappointments:
- CELADON: a translucent glaze traditionally seen in soft greens and blues, originating from ancient Chinese pottery. It works by settling into the low areas of a textured surface, creating beautiful tonal variations.
- CRYSTAL GLAZES: crystals that appear as stones in various sizes, melt in the kiln and provide different effects. Usually they come with a “regular” base glaze and then different colored crystals are applied such as River Birch (Alabaster base with brown speckles). These tend to run, cover texture and the more crystals, the more effect.
- FLUX: glazes that were developed to be used in combination with other mid-range glazes to produce flowing effects. They interact with other glazes to create movement, bringing out “hidden” colors and visual texture. Tend to be runny!
So How Do I Start?
Being impatient is probably a potter’s worst trait and we all just want the results fast! But here is the truth and what I would recommend:
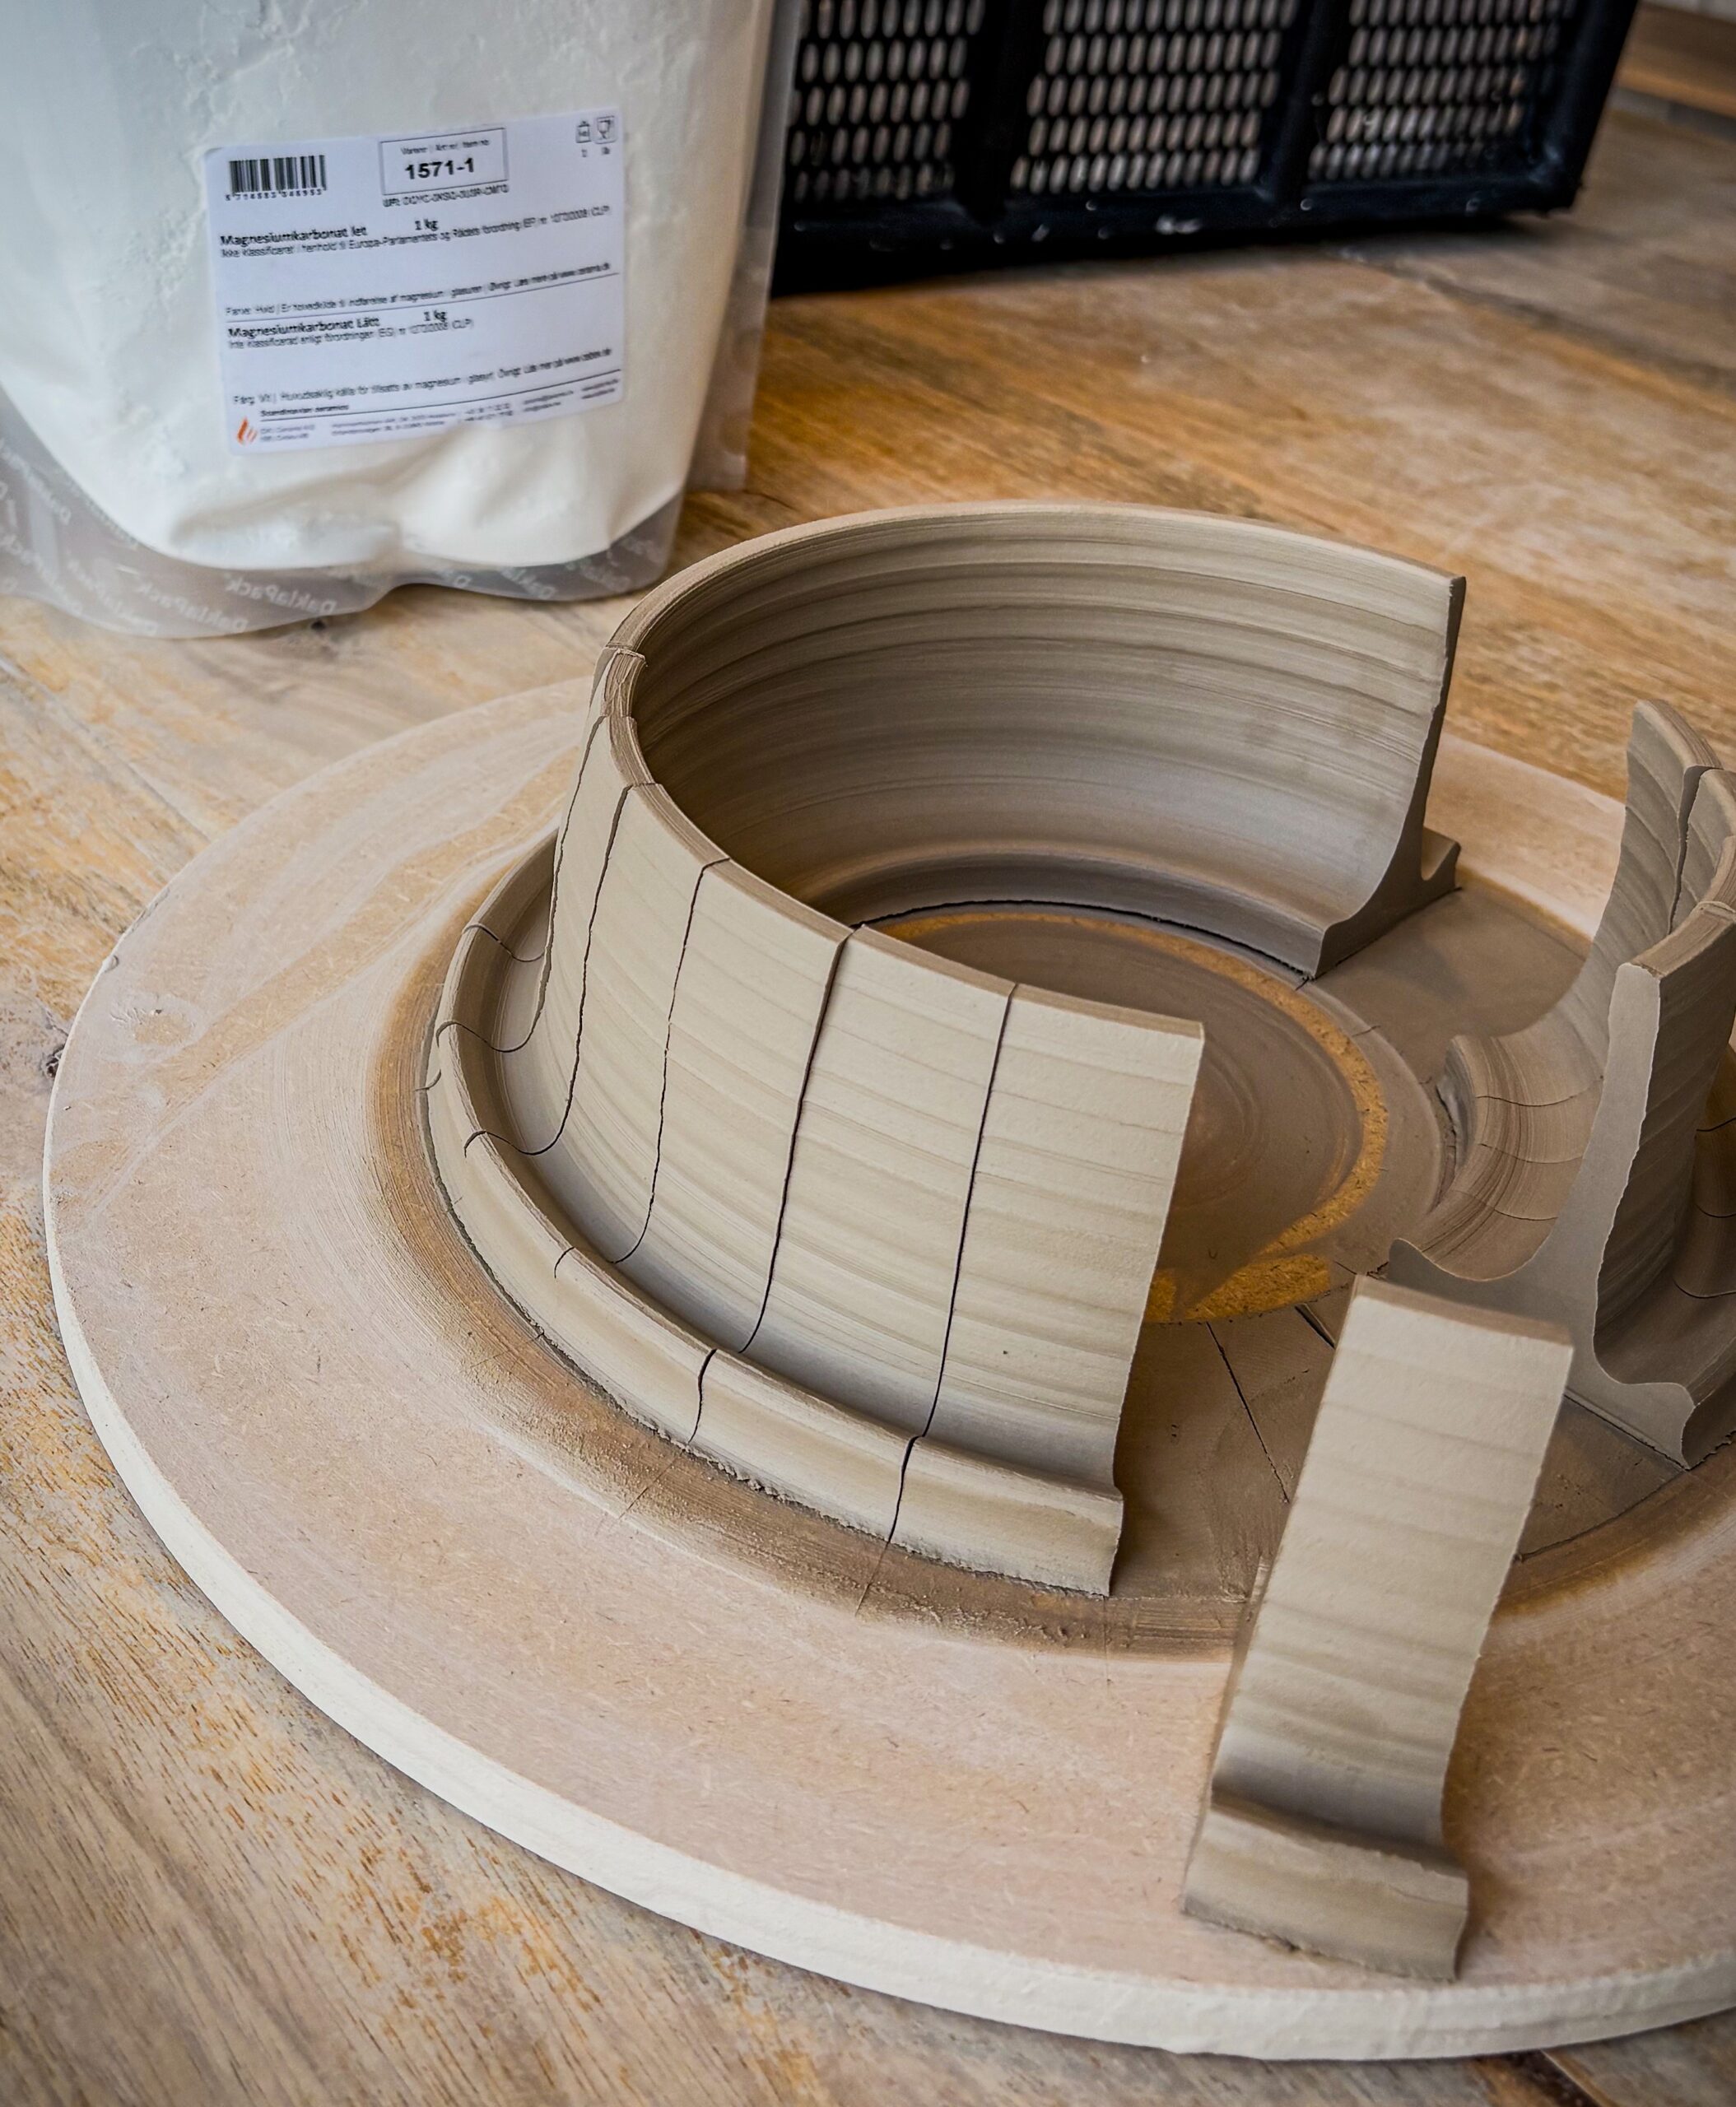
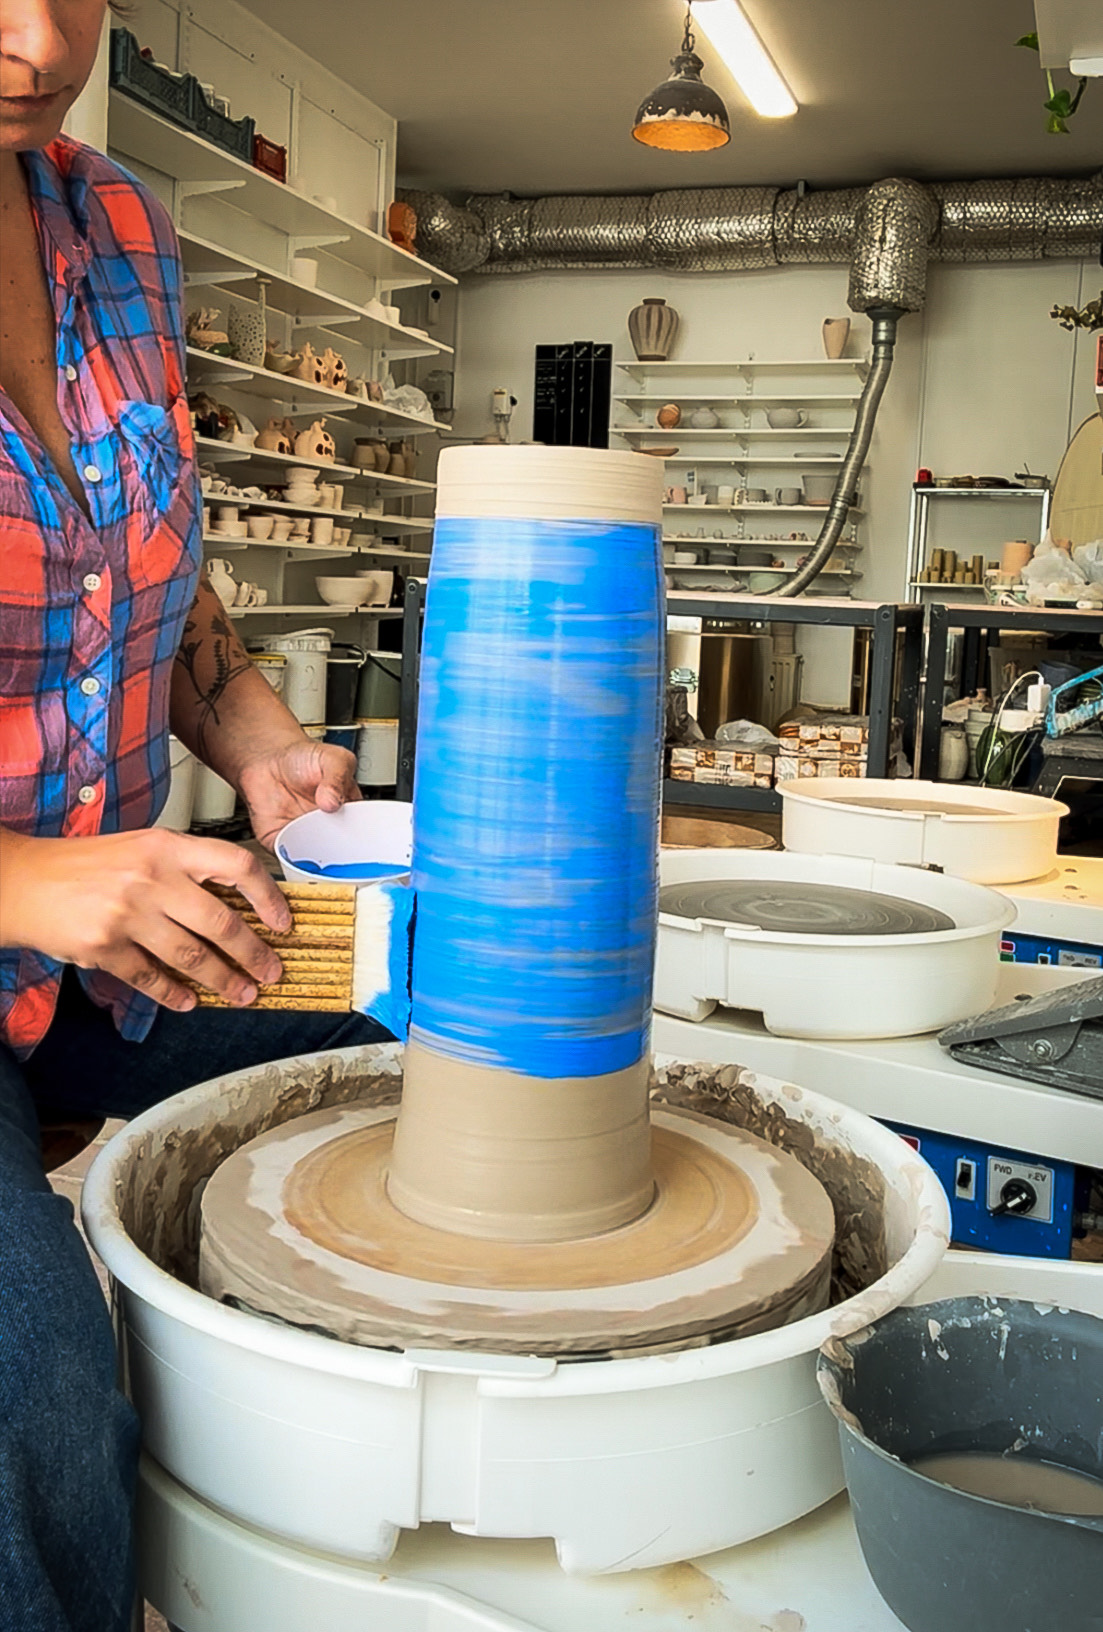
- Make larger test pieces to trial out your glaze: Making small test tiles is pointless! You will not see how the glaze actually flows: so make bigger swatches (like the ones I’ve pictured below). Make them a bit higher and and add some texture – this will give you a more realistic impression of what your glazed pottery will look like.
- Get to know your glazes: Will you be dipping or brushing your pots? Are your glazes runny? How thick do you need to apply before you like the result? Does it enhance your texture or hide it?
- Make sure you write down EVERYTHING! You can use an oxide pen on your test pieces (which does not burn off in the kiln). Note on the bottom of them which glazes you used – you will not remember what you did last summer!
- Is my glaze stable? Or is it high-movement? Mark with an oxide pen where your line of glaze is, and then note after it’s fired if it went past the line or stayed just above.
- Use a clay cookie under your tests for less stress: This way you will not ruin the kiln shelf. Avoid making cookies out of speckled clay as these tend to stick to shelves sometimes.
Ready For The Glaze Combos?
Six years ago, I discovered my green Terra glaze which is basically what pays my rent today. Was it on purpose? – no! But by layering or mixing different glazes, you can create effects that you simply cannot get with just a single glaze.
The biggest two glazing companies, Amaco and Mayco, are experts at combos and you can find them both online and on their own Facebook pages.
Unfortunately it is sometimes hard to achieve everything you see online and here is why:
- Usually you need to apply waaay thicker than you actually think which is scary at first because you don’t want to ruin your community kiln.
- Not all glazes are good to use when experimenting. For instance a Celadon glaze will never layer well and will show up translucent or even invisible when layered on top.
- A lot of times a flux is used to enhance the flow of the 2 combos.
- Those drips everybody is talking about comes from high movement glazes, you cannot expect this from a Celadon or a stable glaze.
Bless The Mess!
Glazing is one of those parts of pottery where there’s no single “right” way – just endless opportunities to explore, play, and learn. Some pieces will surprise you in the best way, and others might teach you lessons you didn’t expect (we’ve all been there!). The important thing is to keep experimenting, keep notes, and most of all, enjoy the process of discovery. With every dip, brush, or pour, you’re building confidence and creating pottery that’s uniquely yours – so don’t be afraid to glaze boldly and see where it takes you!
About Me
My name is Sabina Morin and I own two pottery studios here in Malmo, Sweden.
My journey actually began in my teens where I started sculpting. I started throwing about 6 years ago and after many hours, and I really do mean many, I can honestly say that I have mastered the art of throwing. I have worked both in the fashion industry in London but also as a school teacher, which I think helps me a lot in my pottery career.
Today I offer 38 members in my studio next to my own, an opportunity to be part of a community and find their own journey with ceramics. In my own studio I both sell and produce my pottery, but also offer workshops of all kinds which are usually sold out months in advance.
If you want to follow my crazy and exciting world, here is where you find me:
Instagram: sabina.morin.studio
Website: sabinamorinstudio.com