One of the things I enjoy most about writing for our Community Blog is chatting with other potters about the techniques, tools and ideas they’re trying in their own studios.
When Amanda from Ceramics Journey recently started using our Russian Doll Batt System, she wanted to try out the no-wire pot removal technique.
In this week’s blog, I’m chatting to her about how she got on and what she learned from trying it.
Before we get into the questions, I’ll let Amanda introduce herself…
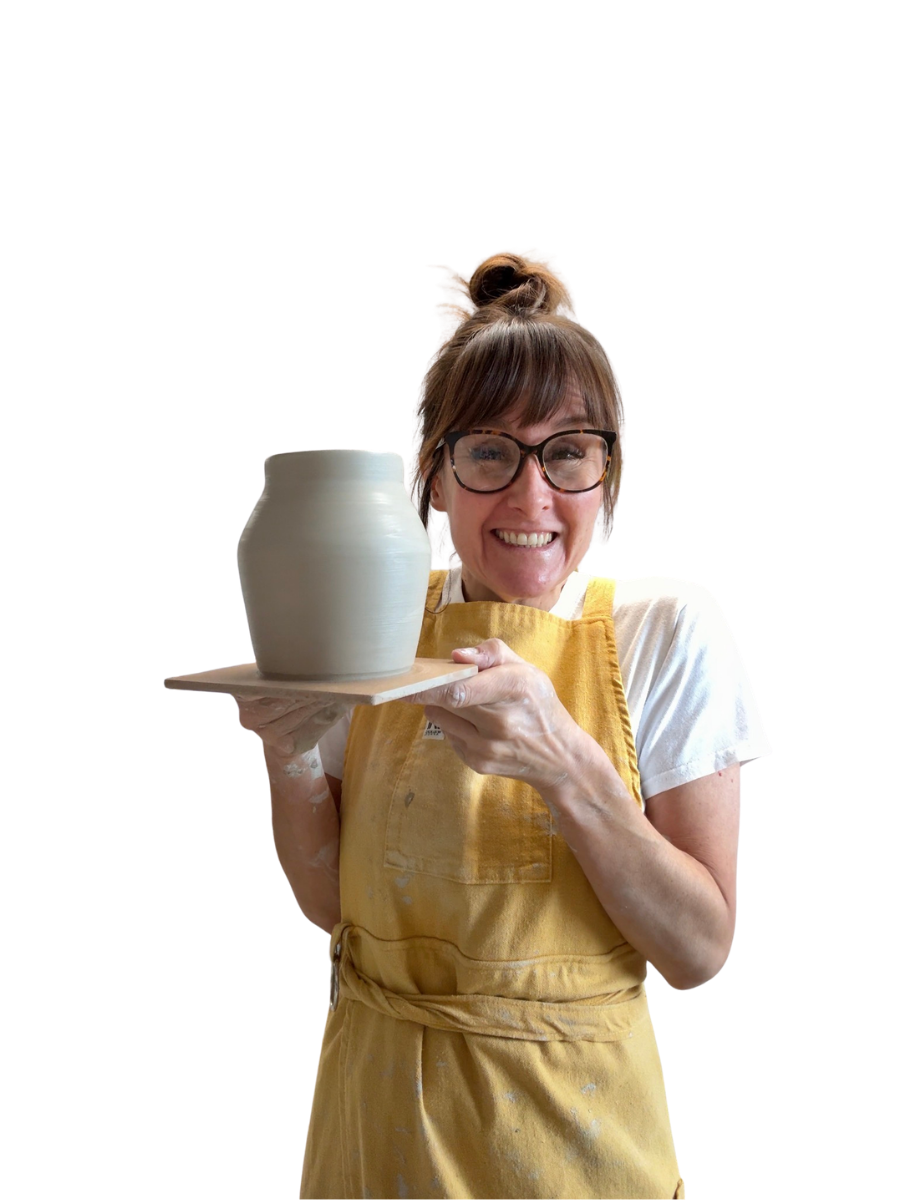
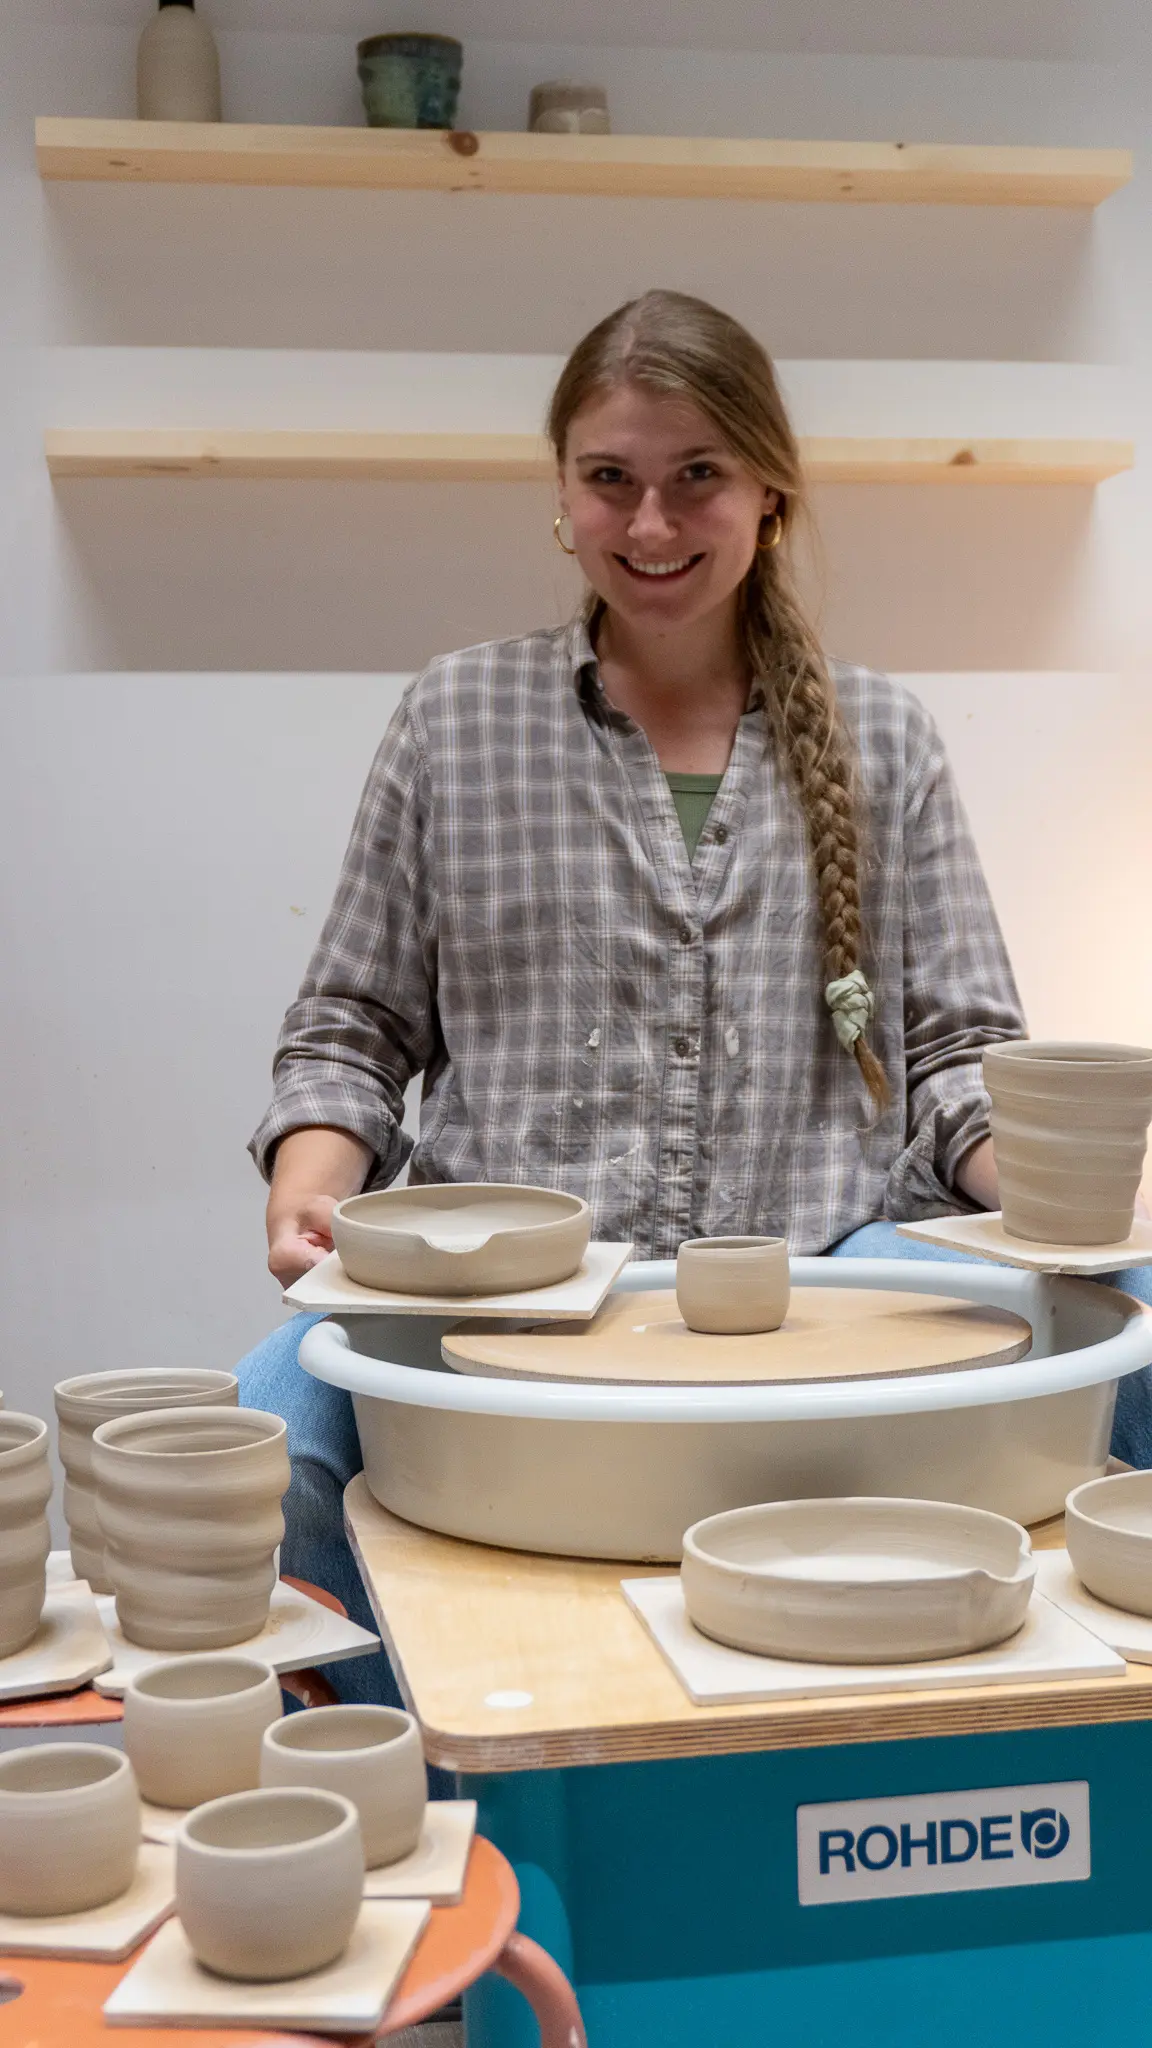
Hi, I’m Amanda, the potter behind Ceramics Journey, based near Cologne, Germany. I first sat down at the wheel in 2023, completely fell for it, and by 2024 I had left a background in studying and working in economics behind to do pottery full time. These days I teach regularly in Cologne and in my own studio in Sankt Augustin near Bonn, everything from beginner classes right up to master classes. I love throwing big objects, but my heart is really in functional ceramics, the everyday pieces you actually reach for. You can find my work in my online shop at ceramicsjourney.com, and follow my making, experiments and the very honest fails over on social media @ceramicsjourney.
What made you decide to try the no-wire technique?
I’m always testing new techniques and keeping the ones that genuinely work for my own practice. Figuring out what works and what doesn’t is one of my favourite parts of pottery, and it’s a big part of how I keep improving. Wiring was never a step I loved, because pieces warp so easily when you lift them off the wheel while they’re still wet. So when this technique started showing up across social media, I wanted to test it properly and see if it lived up to the hype.
How did you find it the first time? Did you start with a few test pots? Any fails?
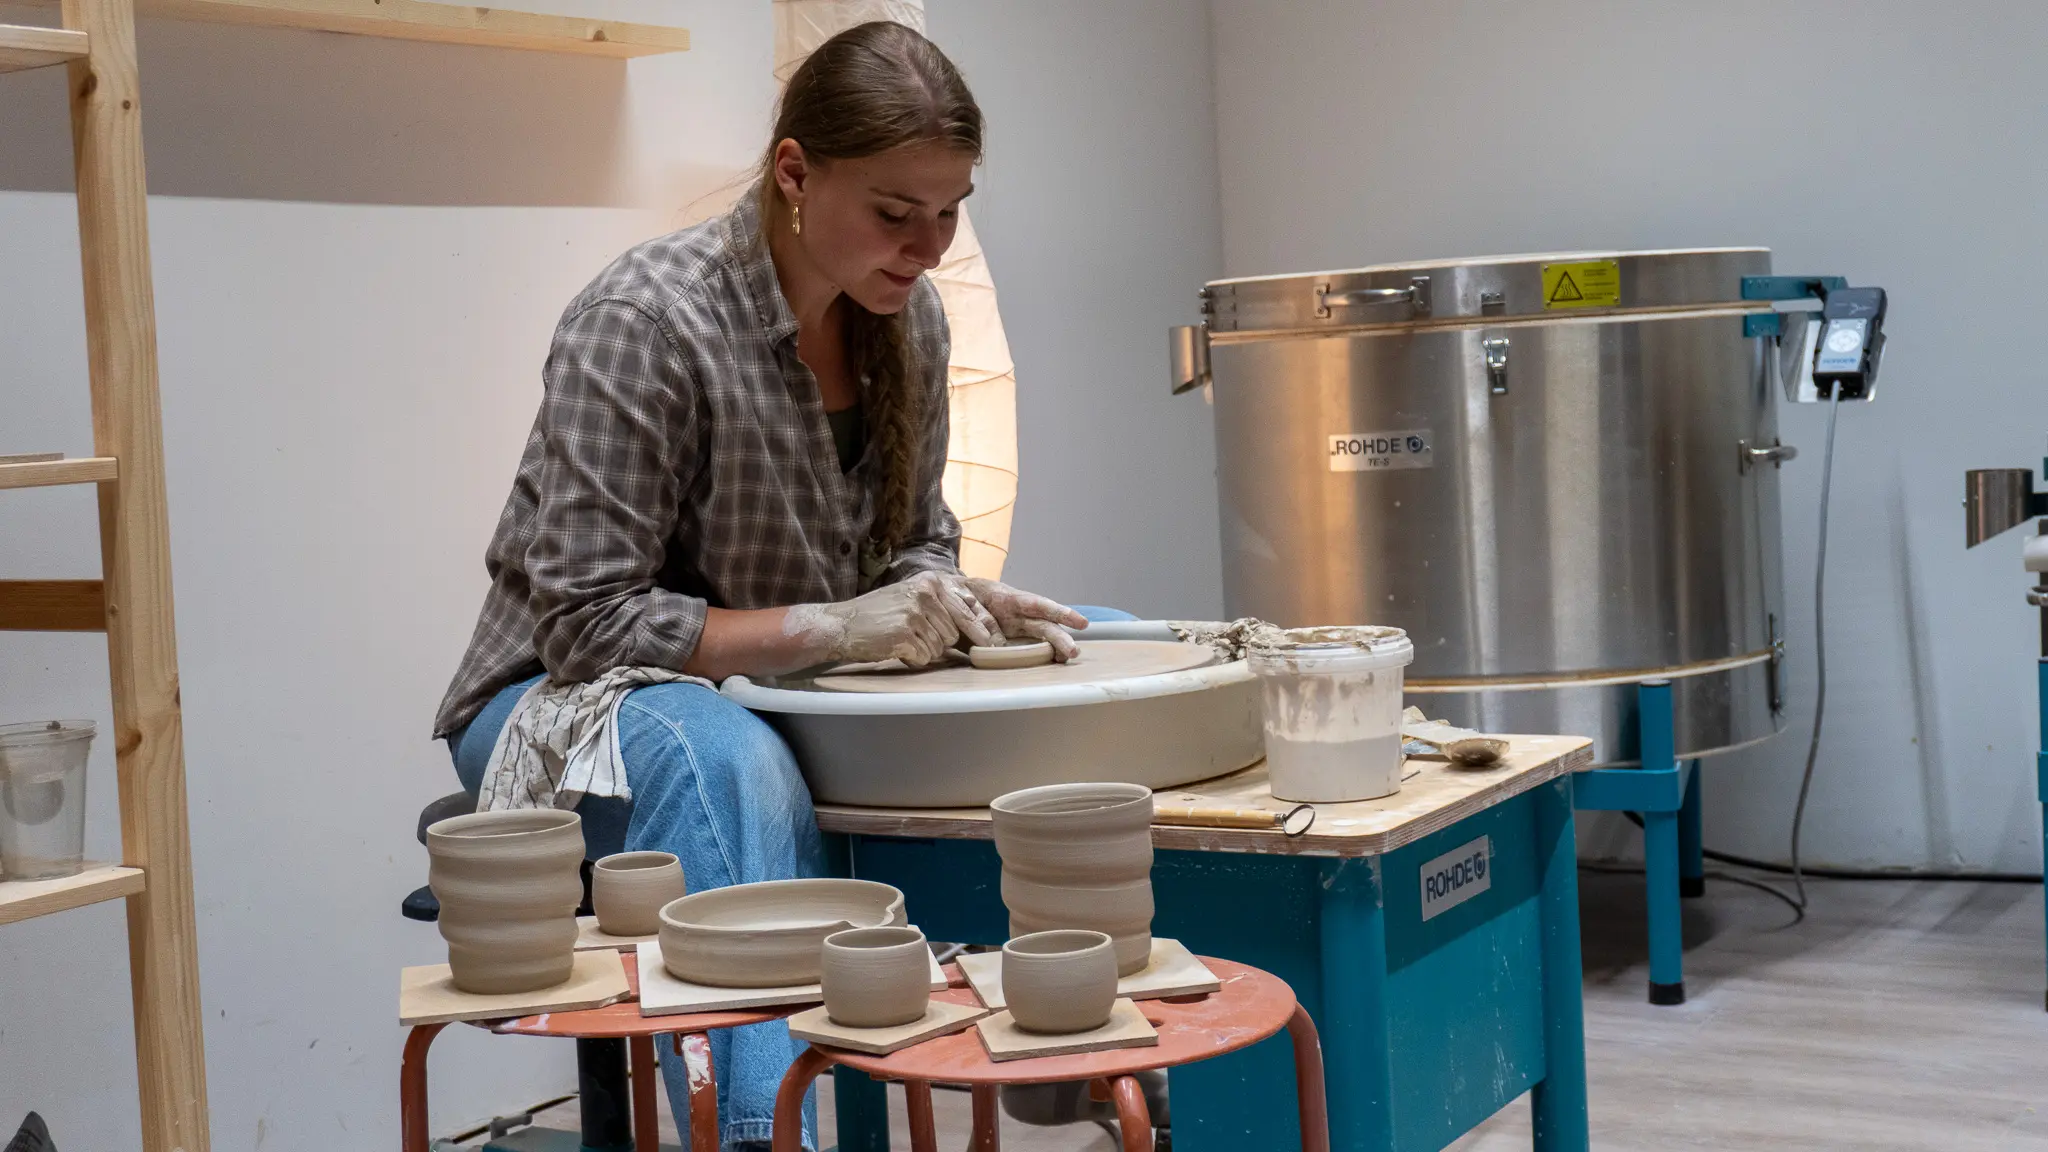
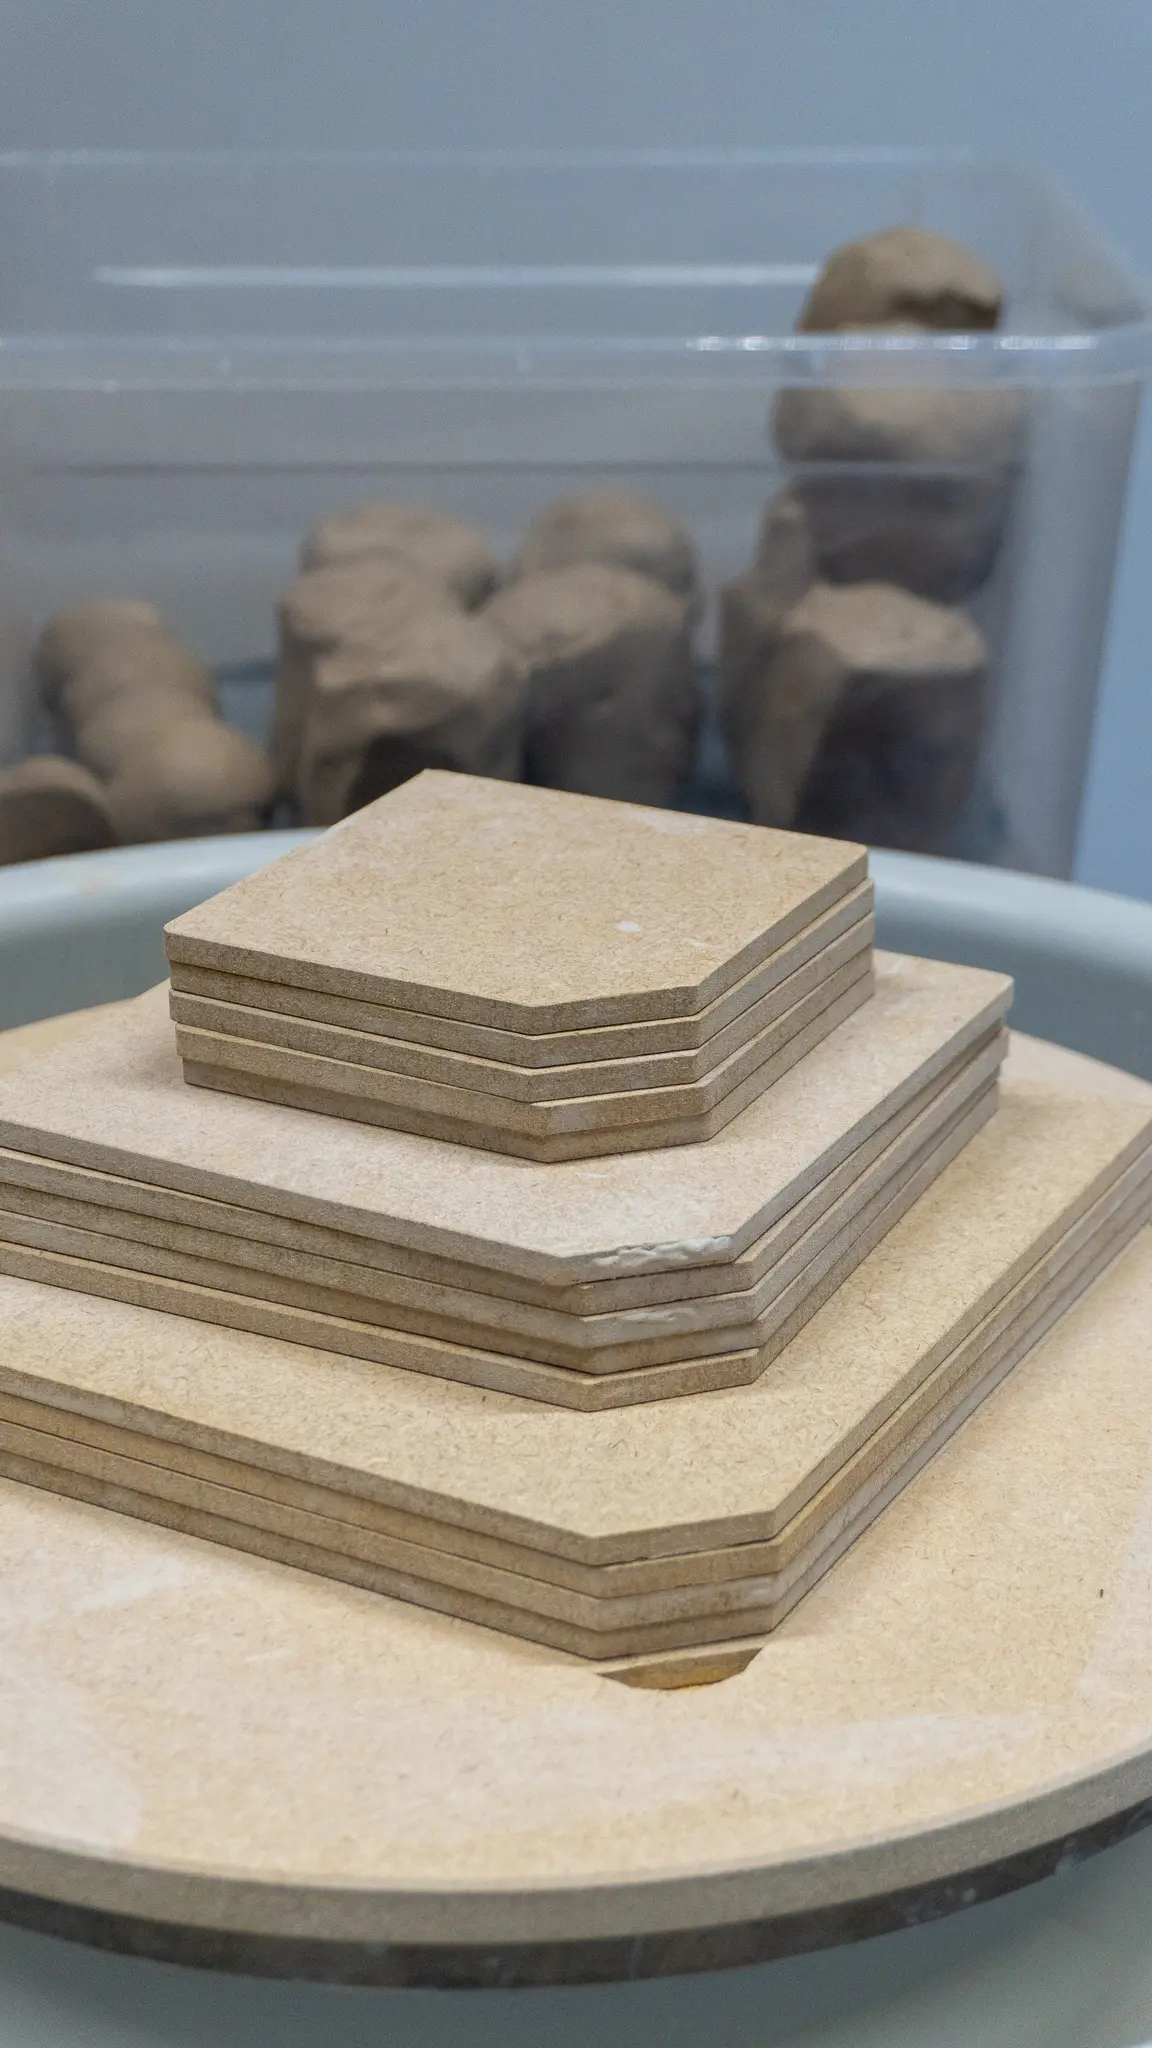
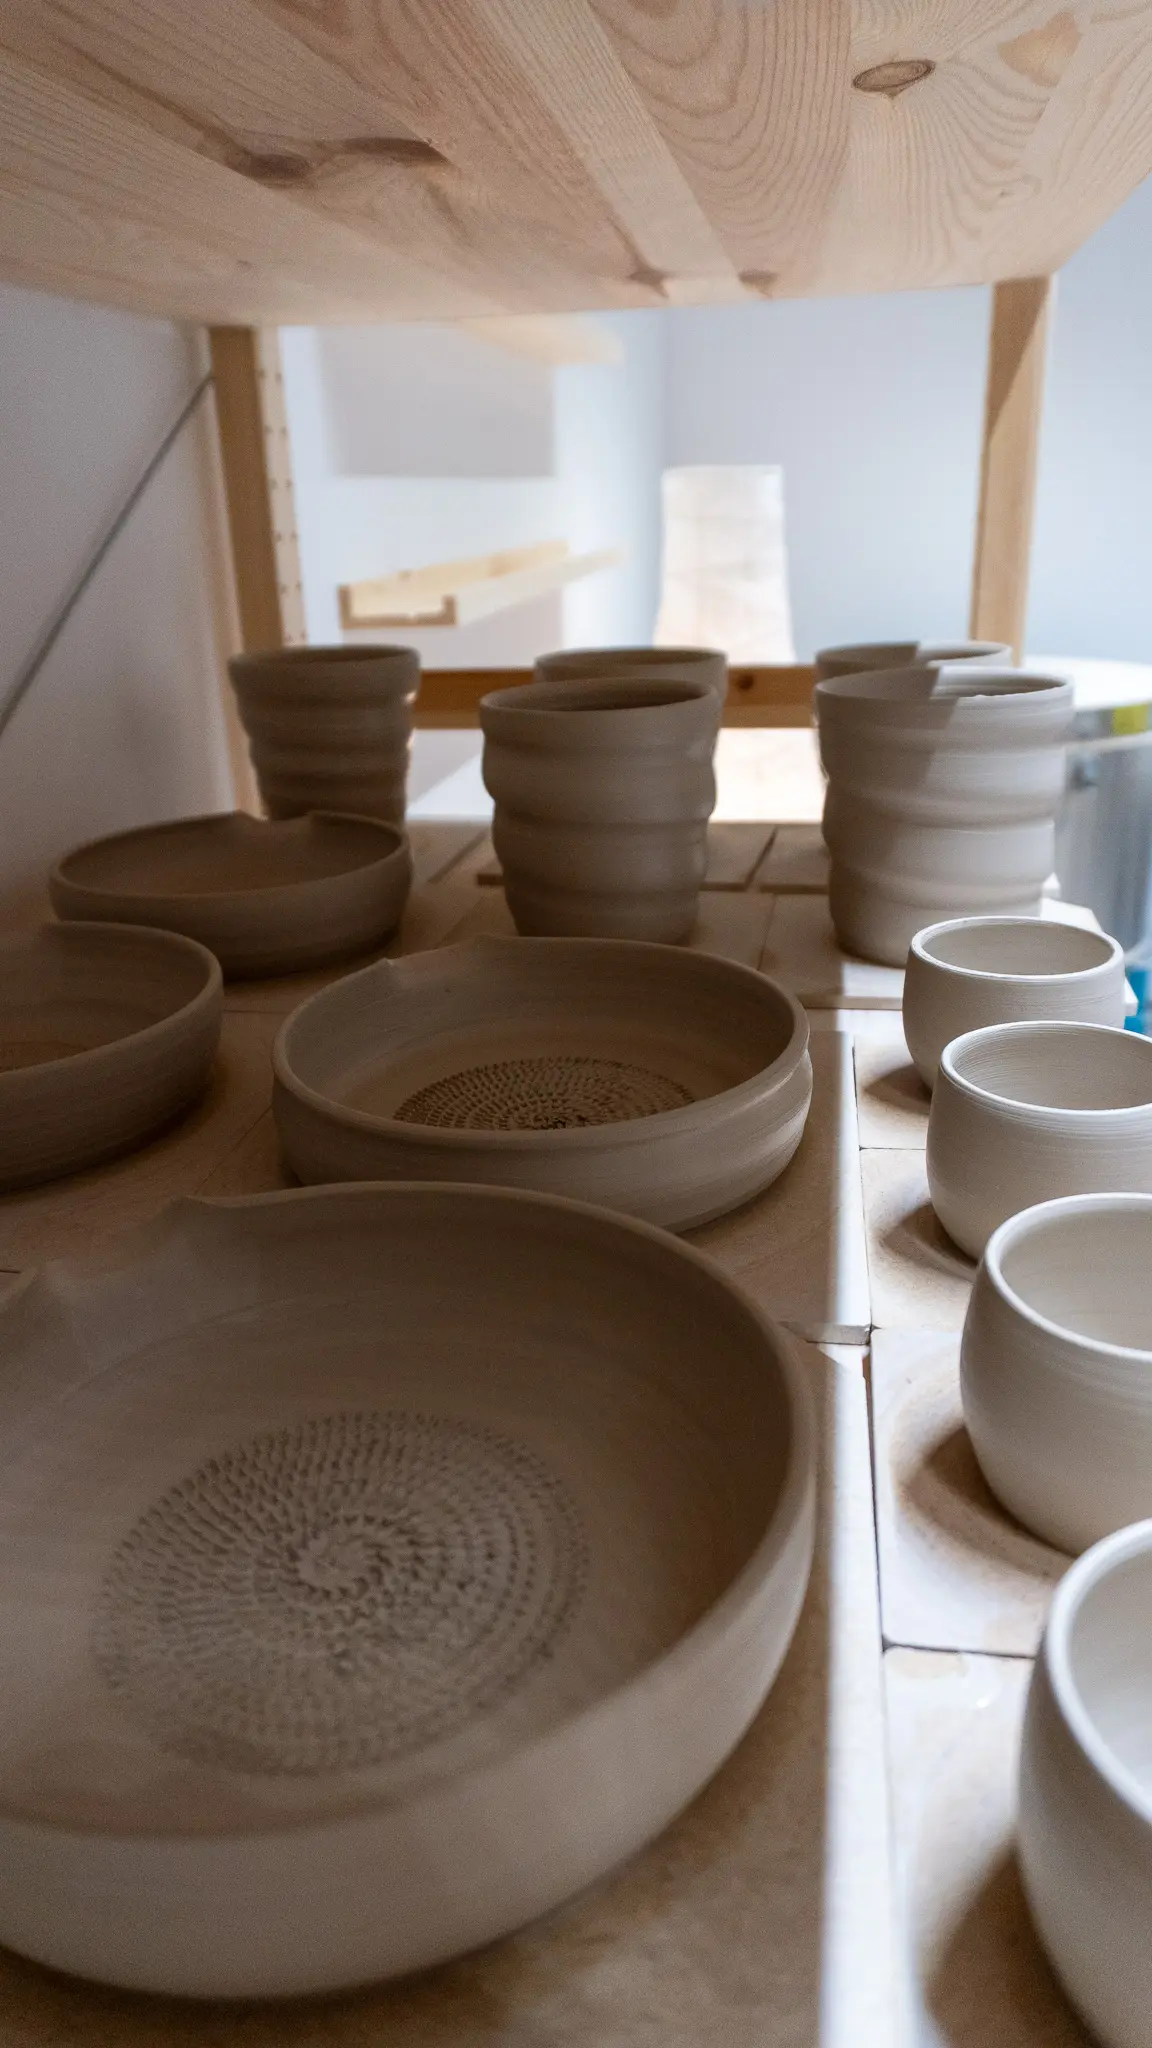
Usually when I try a new technique, one or two pieces don’t make it into the kiln. This time I skipped the test pots and went all in, and every single piece survived, which almost never happens on a first attempt. I use the Russian Doll Batt System, so I deliberately worked across a range of sizes to see how far the method would go: small cups, larger cups, and a few garlic grater plates. It worked cleanly at every size.
How did you know when the pots were ready to come off the tiles?
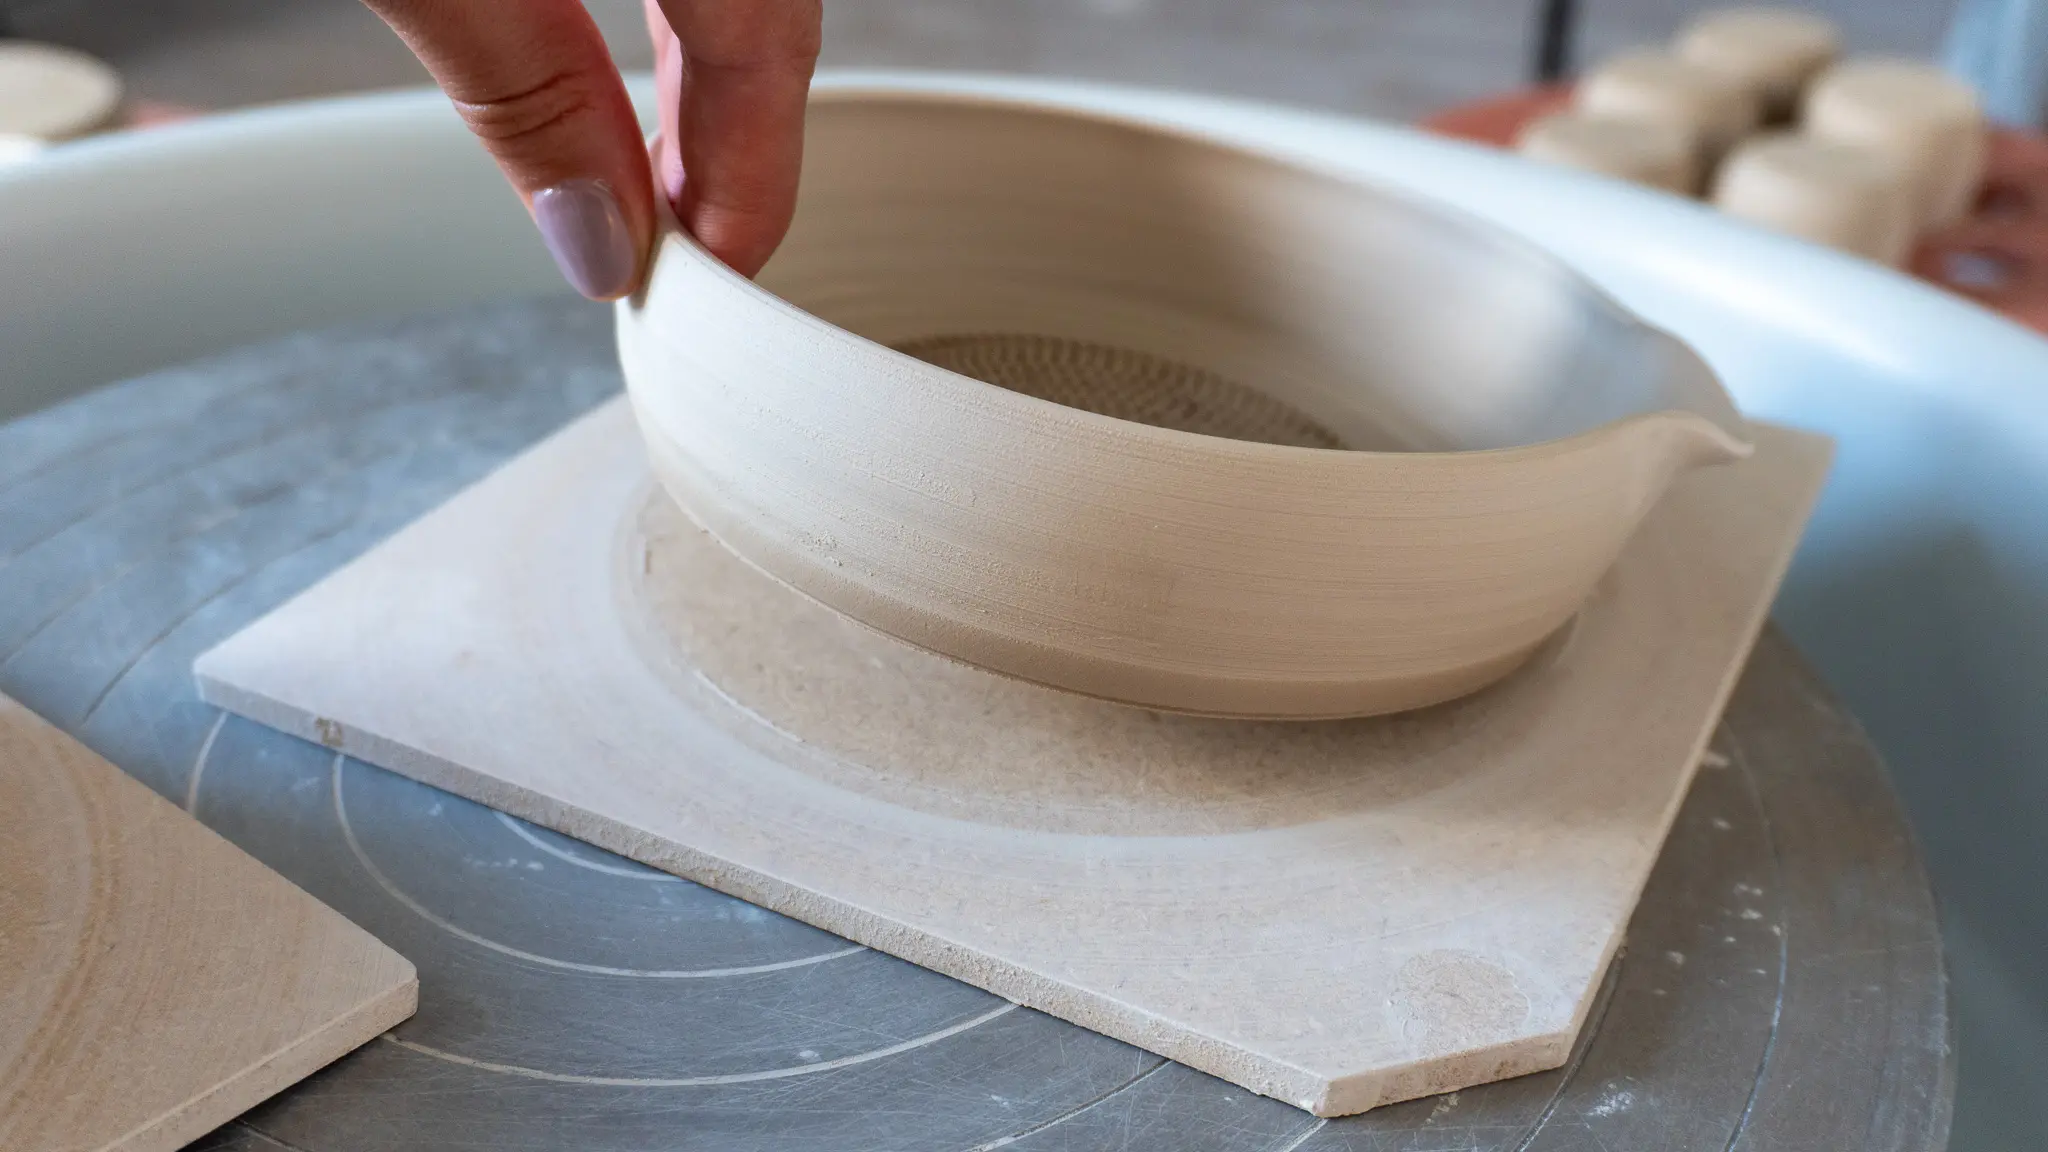
This is the most crucial part because it’s where the technique succeeds or fails.
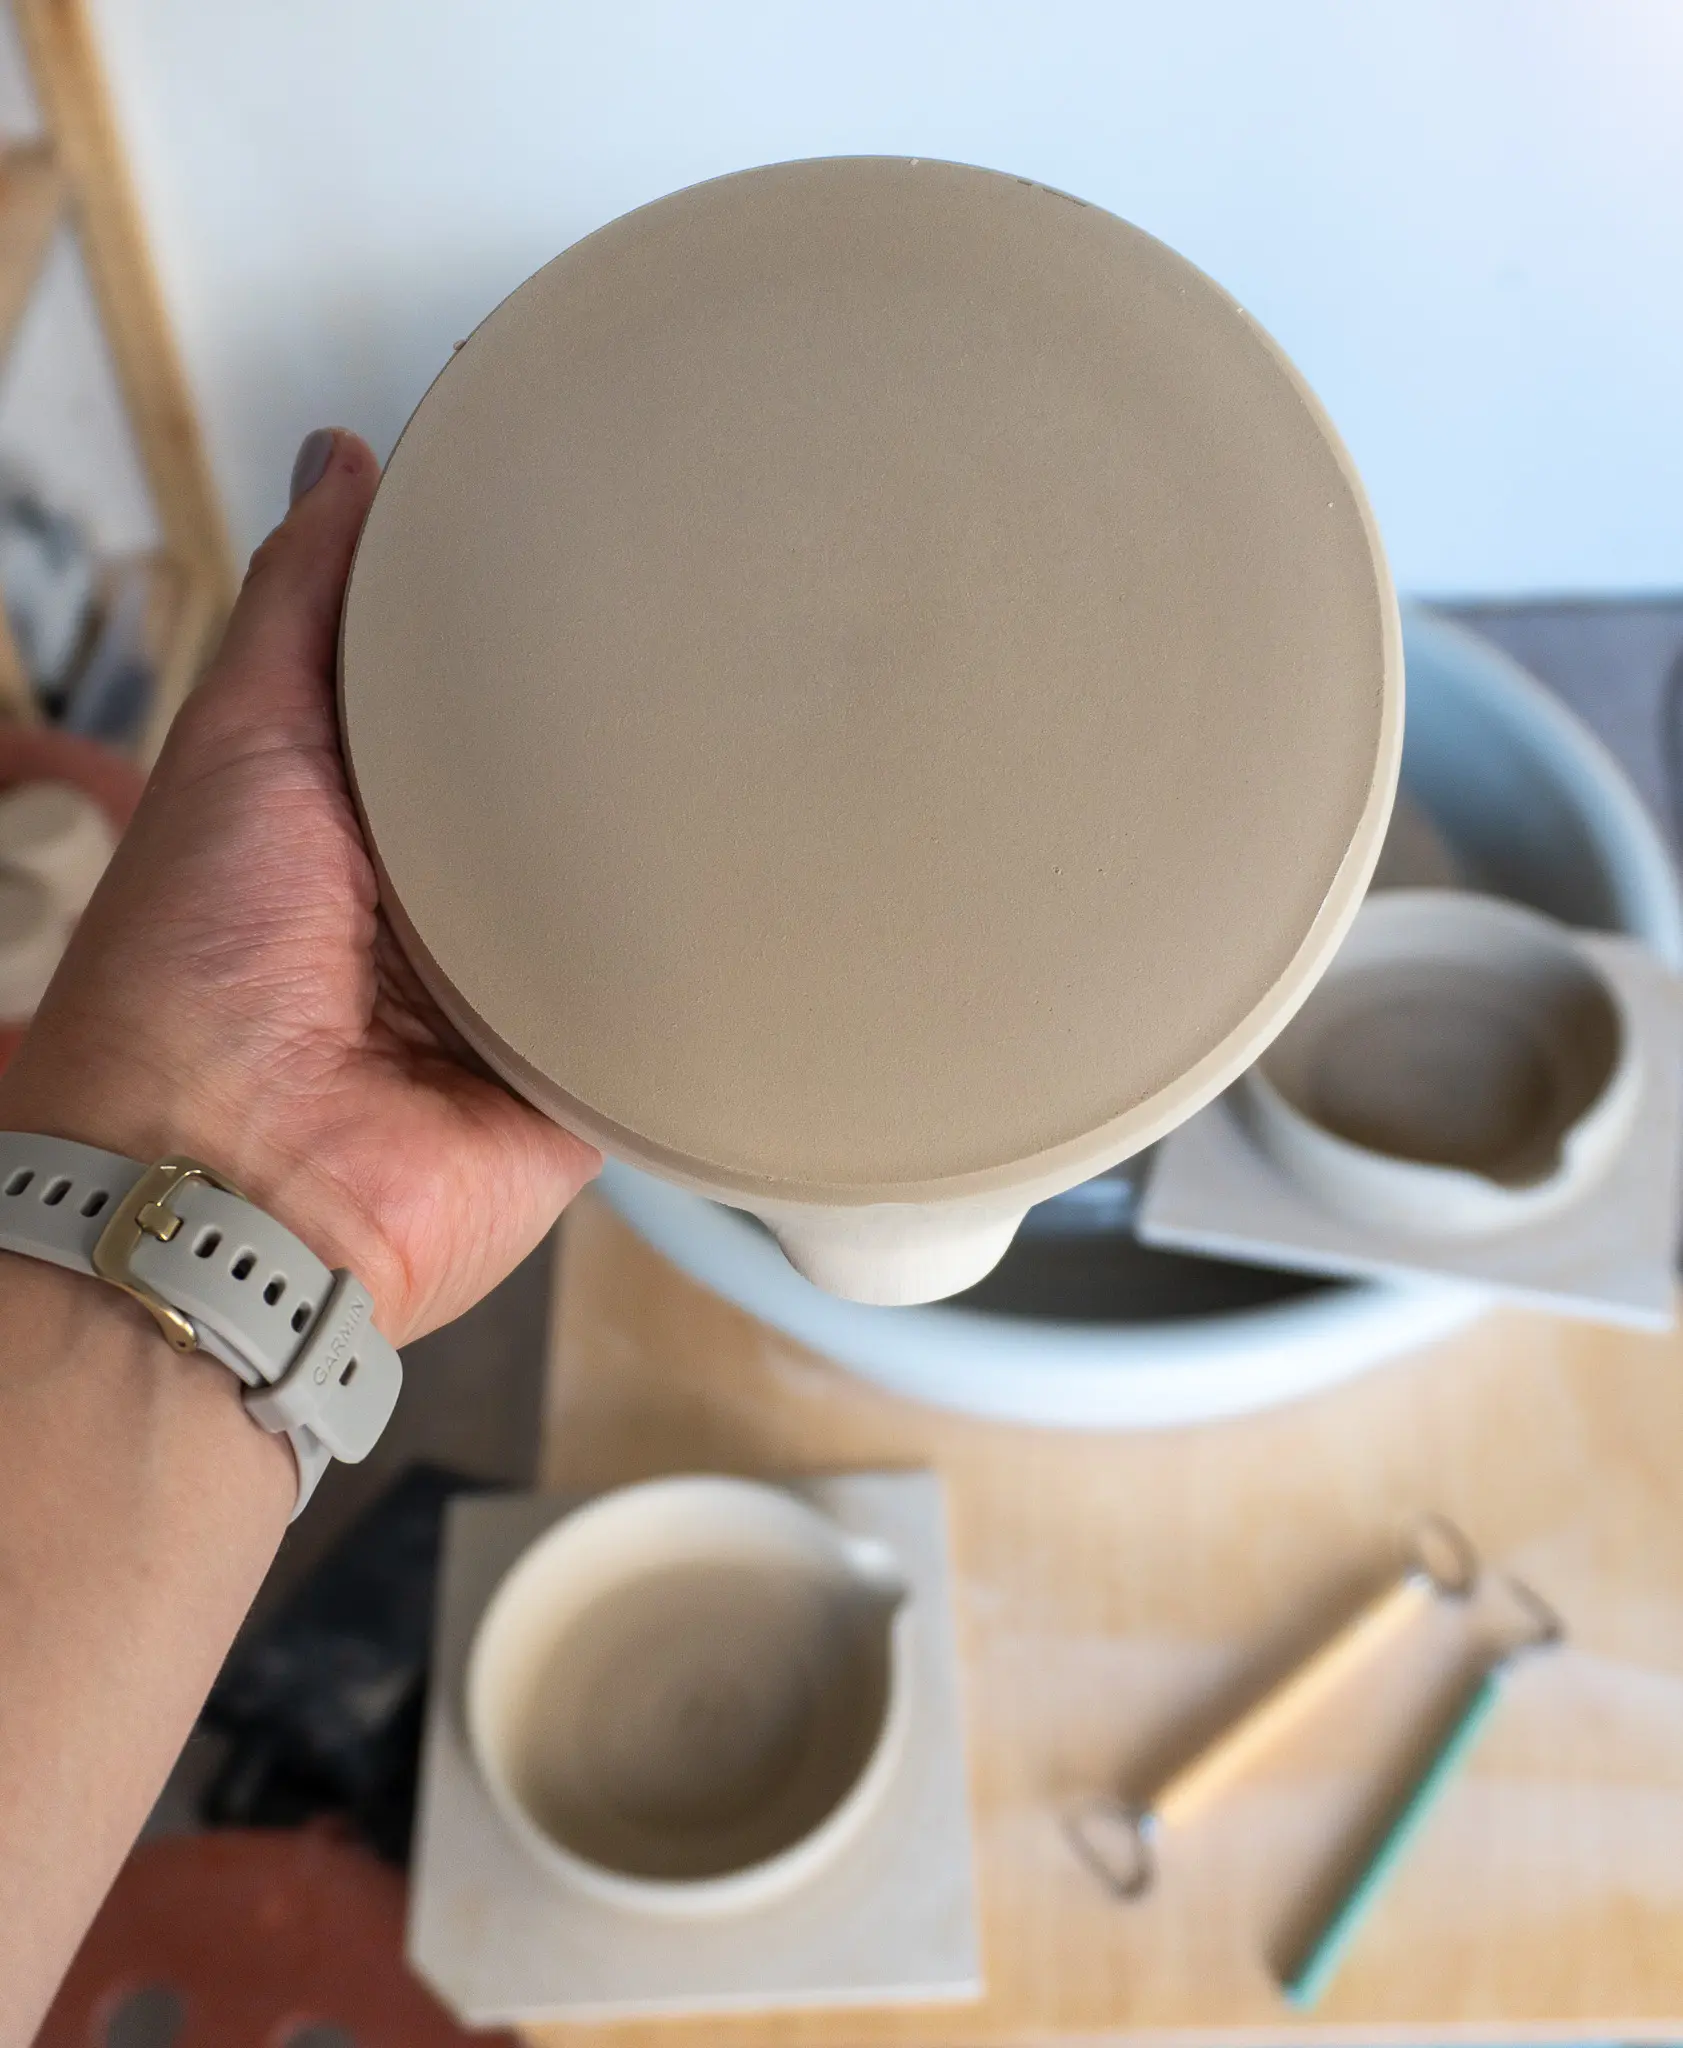
I don’t force it. As the clay dries it shrinks, and a thin gap opens up around the base where the piece pulls away from the tile. That little rim is one of the clearest signs it’s ready. (Photo attached). Often the piece just needs a gentle lift and you’ll get that satisfying pop. If you have to pull hard, most of the time it isn’t ready yet. One thing I always do is check more than one side. Instead of tugging from a single spot, I move around the tile and pull a little, turn, pull a little, turn again, working all four sides so the pieces come away evenly and nothing warps.
What did you do with the bases afterwards? Did you leave them flat, trim them, or add your maker’s mark?
It depends on the piece and how I want the finished pot to look. The nice thing about this method is that most of the time the base just needs a little sponging at the bottom and it’s good to go. I do like a good foot on a pot so I often still trim one. And every piece gets my maker’s mark using an underglaze method.
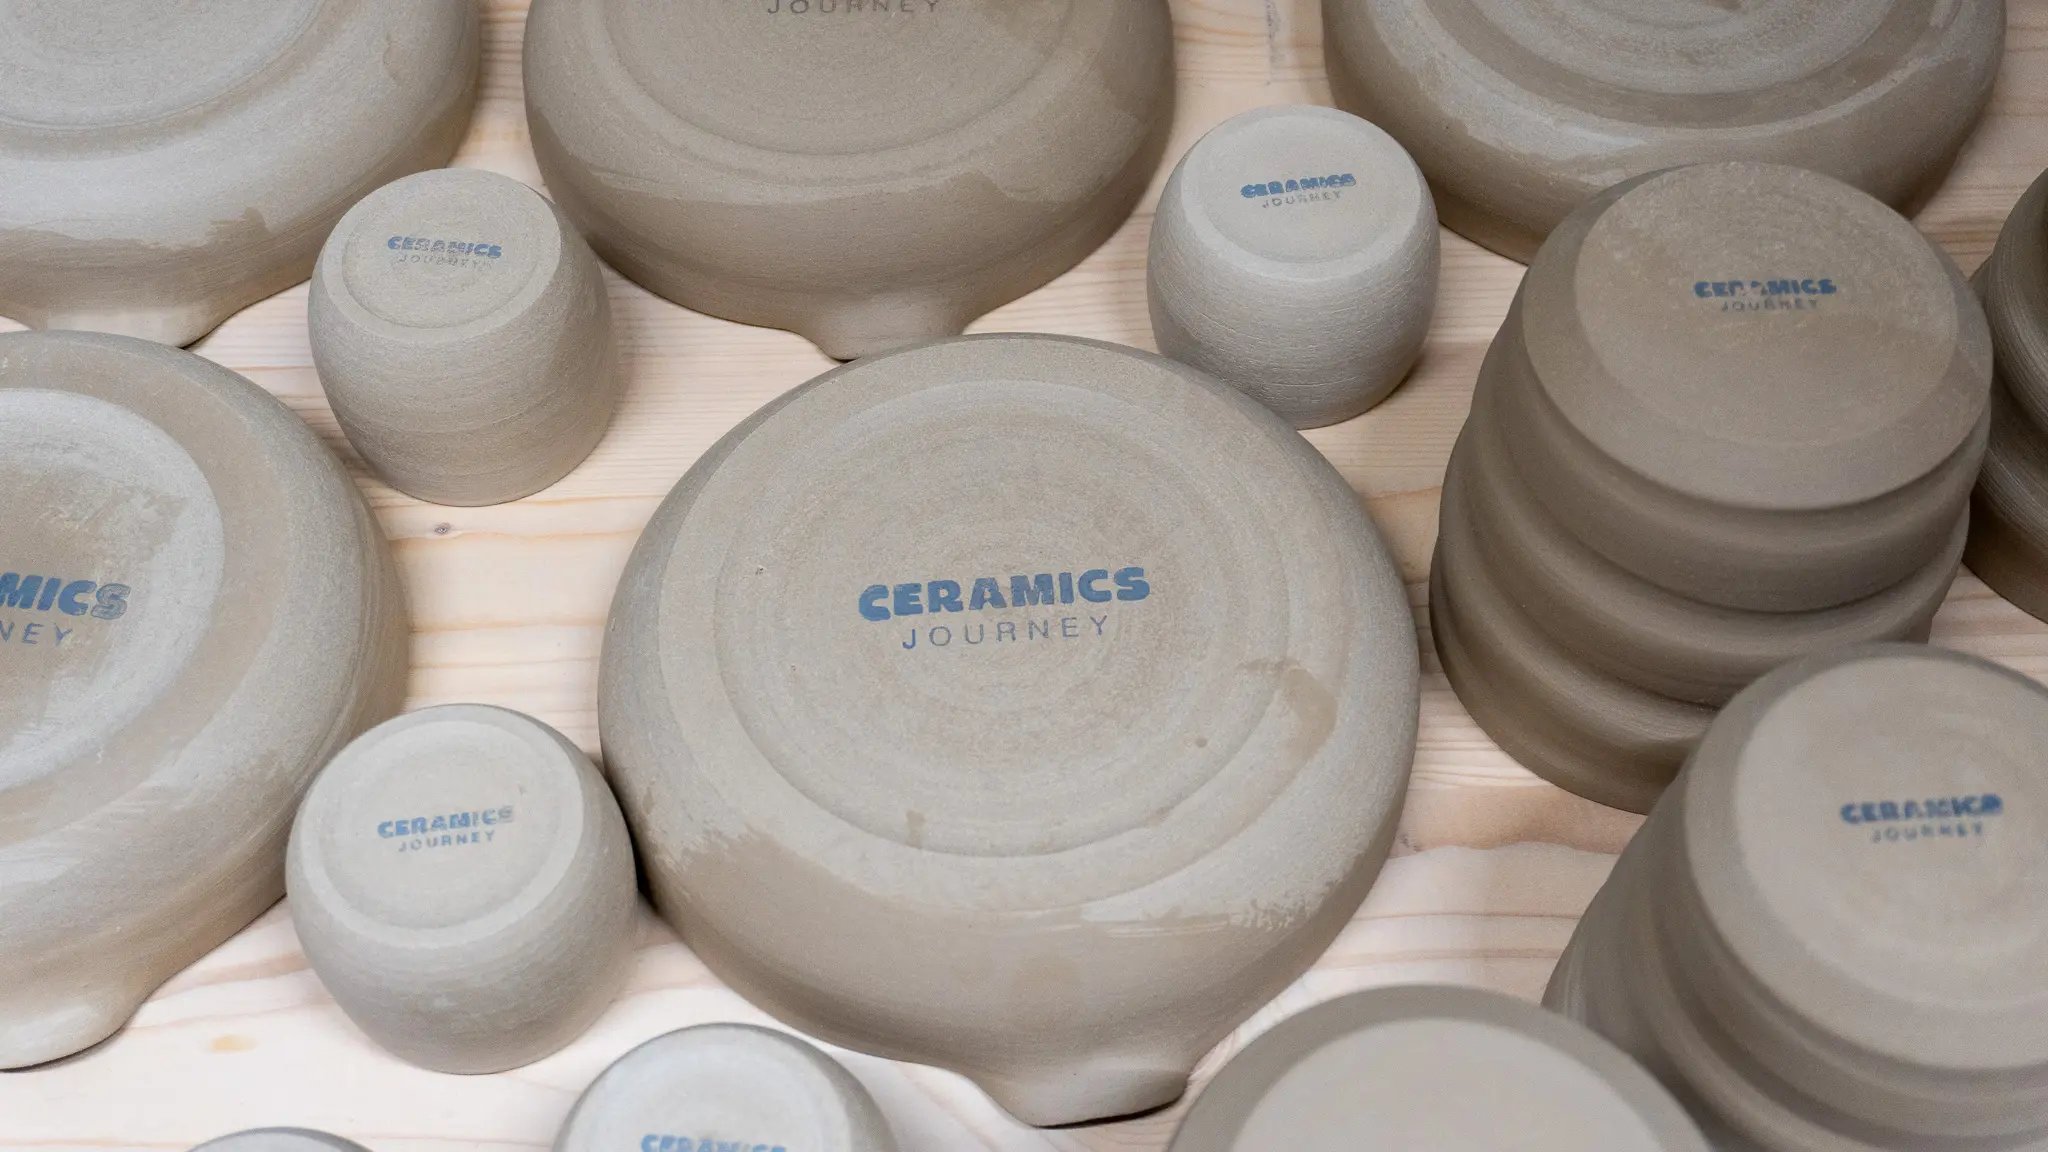
Now you’ve tried it, are there any pots you’d still choose to wire off?
I’d probably still wire off my larger vases and anything with a really thick base when I want to trim a deep foot. The one thing I’m keen to test next is larger plates, because if that works for large dinner plates without warping or stress cracks this could really make a difference for my studio production. That’s definitely next on my experiments list.
Any top tips for someone trying it for the first time? Is there anything you’d do differently next time?
Patience is the one that matters most… I tried to lift one off the tile even though it wasn’t fully ready and of course it backfired 😀
Also it doesn’t work with every bat system, because some are made of a material that simply won’t let the pot release, so the bat matters. (Or Tyvek paper)
And after I posted my video, a lot of people asked whether the tiles warp over time. In my experience they hold up well.
If the throwing is not fully consistent yet and the rim is maybe thinner than the base, I would cover the rim with plastic or something you’d normally use and leave the base uncovered, so the two parts dry evenly and you don’t end up with a bone dry rim while the base is still wet.